Redcurrant ice cream (no ice cream machine required)
Redcurrant as a berry might taste a bit too tart for many of us, but that does not show in this delicious ice cream! Based on a simple yet powerful recipe, even redcurrant-sceptics will find their taste buds in for a real treat! Oh, and did I mention that you also can make this ice cream in your ordinary kitchen freezer?
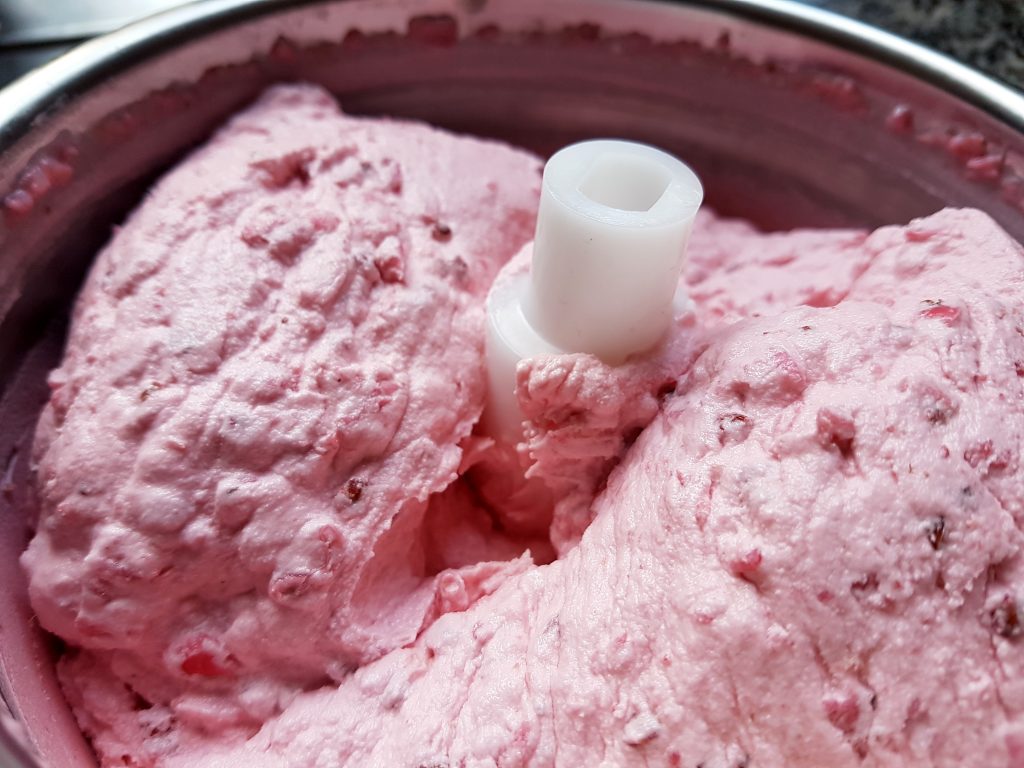
Delicious Redcurrant ice cream. Yes: you can do it in your freezer, without any ice cream machine, and the results will still be great.
Ice cream without a machine? Yes, it is possible … with a ‘firm’ custard!
Attempts to make ice cream without an ice cream machine often end up disappointingly icy, and most freeze unpleasantly rock-hard too.
Why? The main problems are usually caused by inadequate emulsion and stabilisation of the ice cream base, and by the relative slowness of the freezing-process itself.
Traditional ice creams tend to rely on egg yolks, (the fat of) the dairy, and sugar to ensure a scoopable, frozen structure. Many people, yours truly included, also like the way eggs add to the overall flavour of the ice cream. Today’s “firm custard base” combines this general goodness of eggs with a small but significant addition of gelatin: a common, tried and tested household product for gelling (strict vegetarians might replace the gelatin with pectin). Together, as we will see, the eggs and the gelatin work wonders for the overall consistency of the ice cream [= ensuring proper emulsion and stabilisation, in technical terms]. A small, but further boost to a nice consistency can be gained by adding a little Agave nectar (or other inverted sugar) to the mix: this is not absolutely necessary, however: if you don’t have any agave nectar, just use more (white, brown or raw) sugar.
Most kitchen freezers are quite slow to freeze, and that gives any ‘free-roaming’ water within the ice cream base time to grow into unpleasantly large ice crystals. We don’t want that, so it is important to minimise the freezing time. The easiest way to do it? – Make sure that the ice cream base is chilled already when you first put it into the freezer.
Ice creams also need air. As the freezer won’t do the required churning for us, we will simply have to do it ourselves, by hand. When the ice cream begins to freeze, grab a fork and churn it at regular intervalls during the freezing, and all will be fine!
Redcurrant – tart, tasty and surprisingly perfectly suited for ice cream
Avid readers may remember my post on blackcurrant ice cream, when I applied basically the same base to the black cousins of redcurrant.
Ribes rubrum, or Redcurrant, grow on shrubs. Like many other berries, they are very healthy, and come filled with C-vitamins and fibre. As both redcurrants and blackcurrants also contain quite a lot of natural pectin, they also add some “gelling” power on their own, which greatly benefits the ice cream.
Redcurrents are about as sweet as blackberries but have an even tartier flavour – in our recipe, however, this tartness will be deliciously mitigated by the other ingredients. The well-rounded and sweet end-result should please even those who normally do not care much for the red berries.
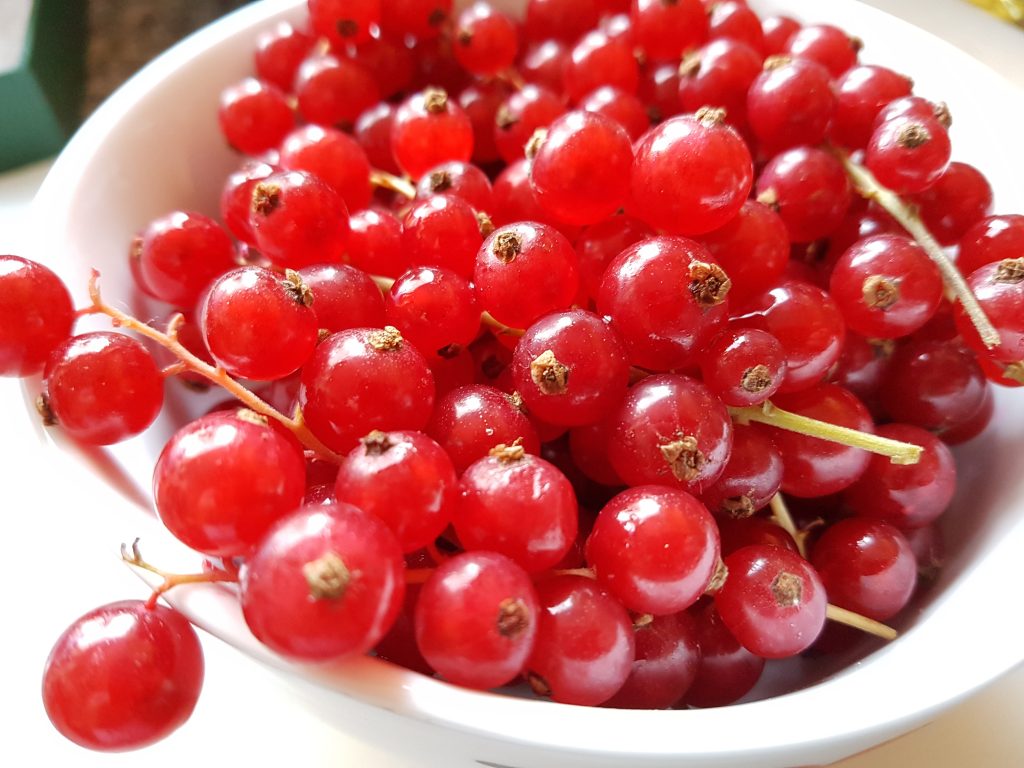
Redcurrants – like many other berries, tasty (but even tartier than blackcurrants), super healthy and loaded with goodness. Due to their high content of natural gelifier pectin, they work great in ice cream!
How to do it
Begin with the berries. There is no need to hull each and every berry – just remove them from their long stems, mix them with half of the sugar and purée them with a hand-held mixer or similar.
Set aside the purée and begin to prepare the “firm” custard base.
Begin by putting half a sheet of gelatin to soak in cold water (for a minimum of about five minutes. No problems to leave it there longer, though). Set aside, as we will add it later, towards the very end of the custard-making.
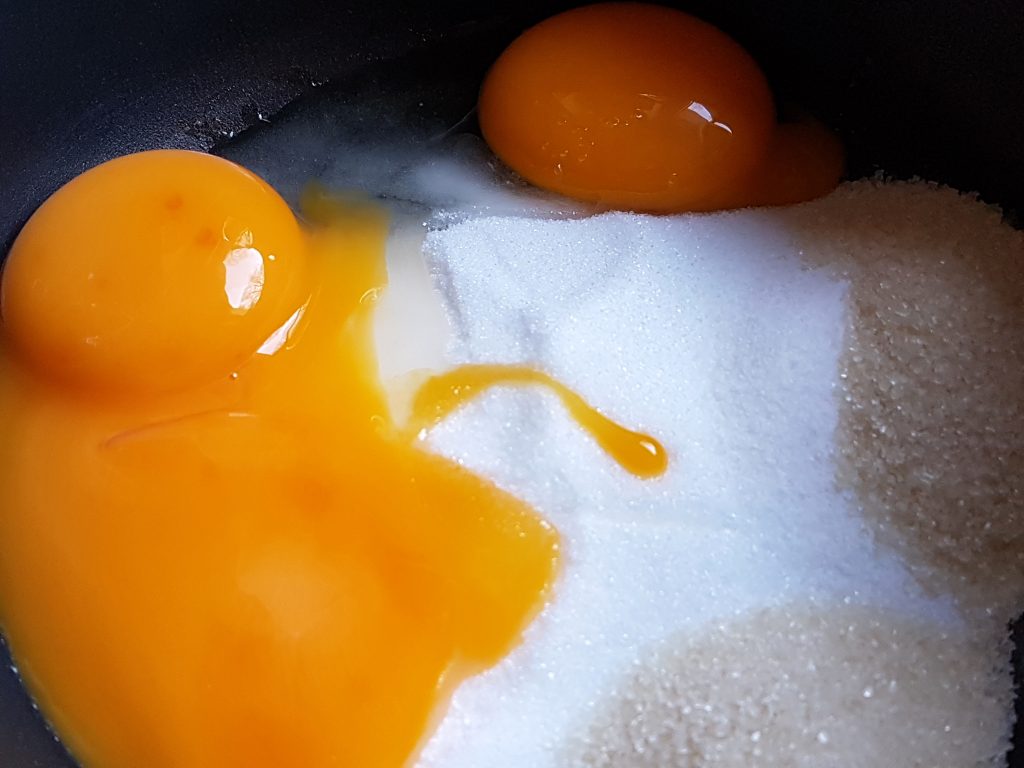
While there are more traditional/complicated ways of preparing an ice cream custard, we will go for the modern and fast way: Just mix everything for the custard together from the very beginning (except for the redcurrant purée and the gelatin, which we will add towards the end).
“Tempering?! We don’t need no fricking tempering!” Traditionalists may be miffed, but in my experience, the “modern” method when the base ingredients are mixed together from the start works really well!
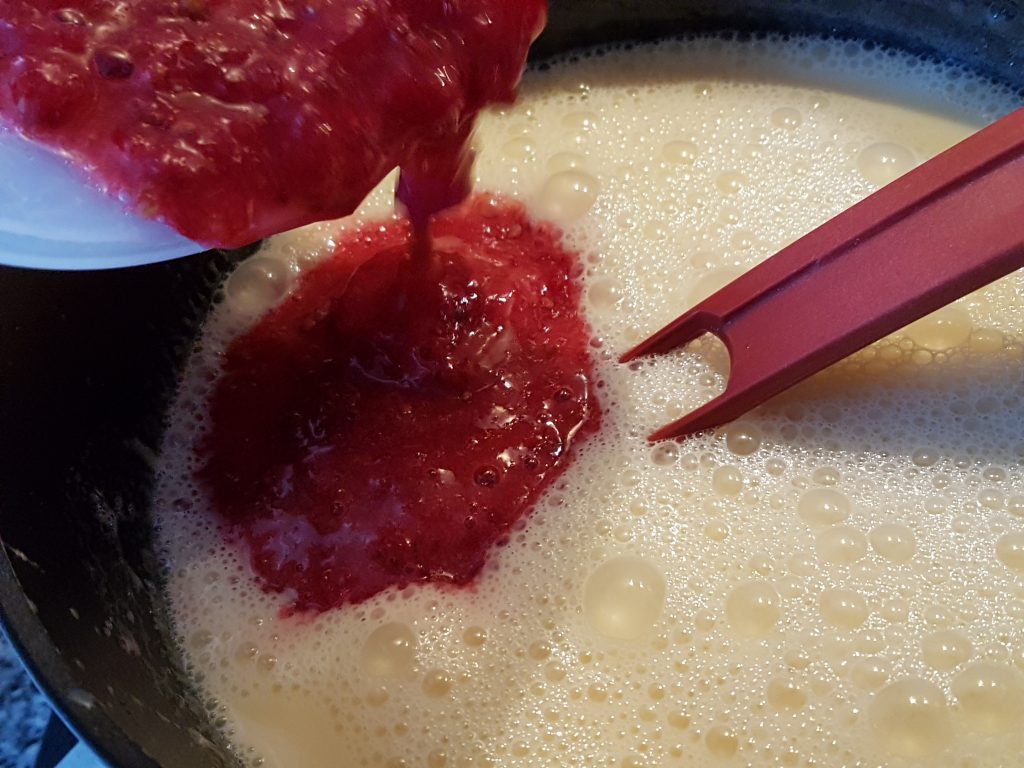
Once all of this is mixed together, continue to whisk and bring the base to an almost-boil (but no more than about 85º C/185º F). Now add the water-soaked half-sheet of gelatin. Whisk some more and when the gelatin has dissolved (should take less than half a minute or so), add the redcurrant purée.
The quick, modern way to make ice cream base-custard: Put the dairy, the sugar(s) and the egg yolks in a sauce pan, mix, whisk and heat! And continue to whisk until the base is ready. Then, for this recipe, add the gelatin and the fruit purée.
Whisk well, then remove the ice cream base from the heat and let cool down.
Once cool, let the ice cream base chill properly in the refrigerator for a few hours before you put it in the freezer [or your ice cream machine, if you have one]
Remember: The ice cream becomes better the shorter time it takes to freeze it! And if you have no ice cream machine, know that your household freezer will need all the help it can get!
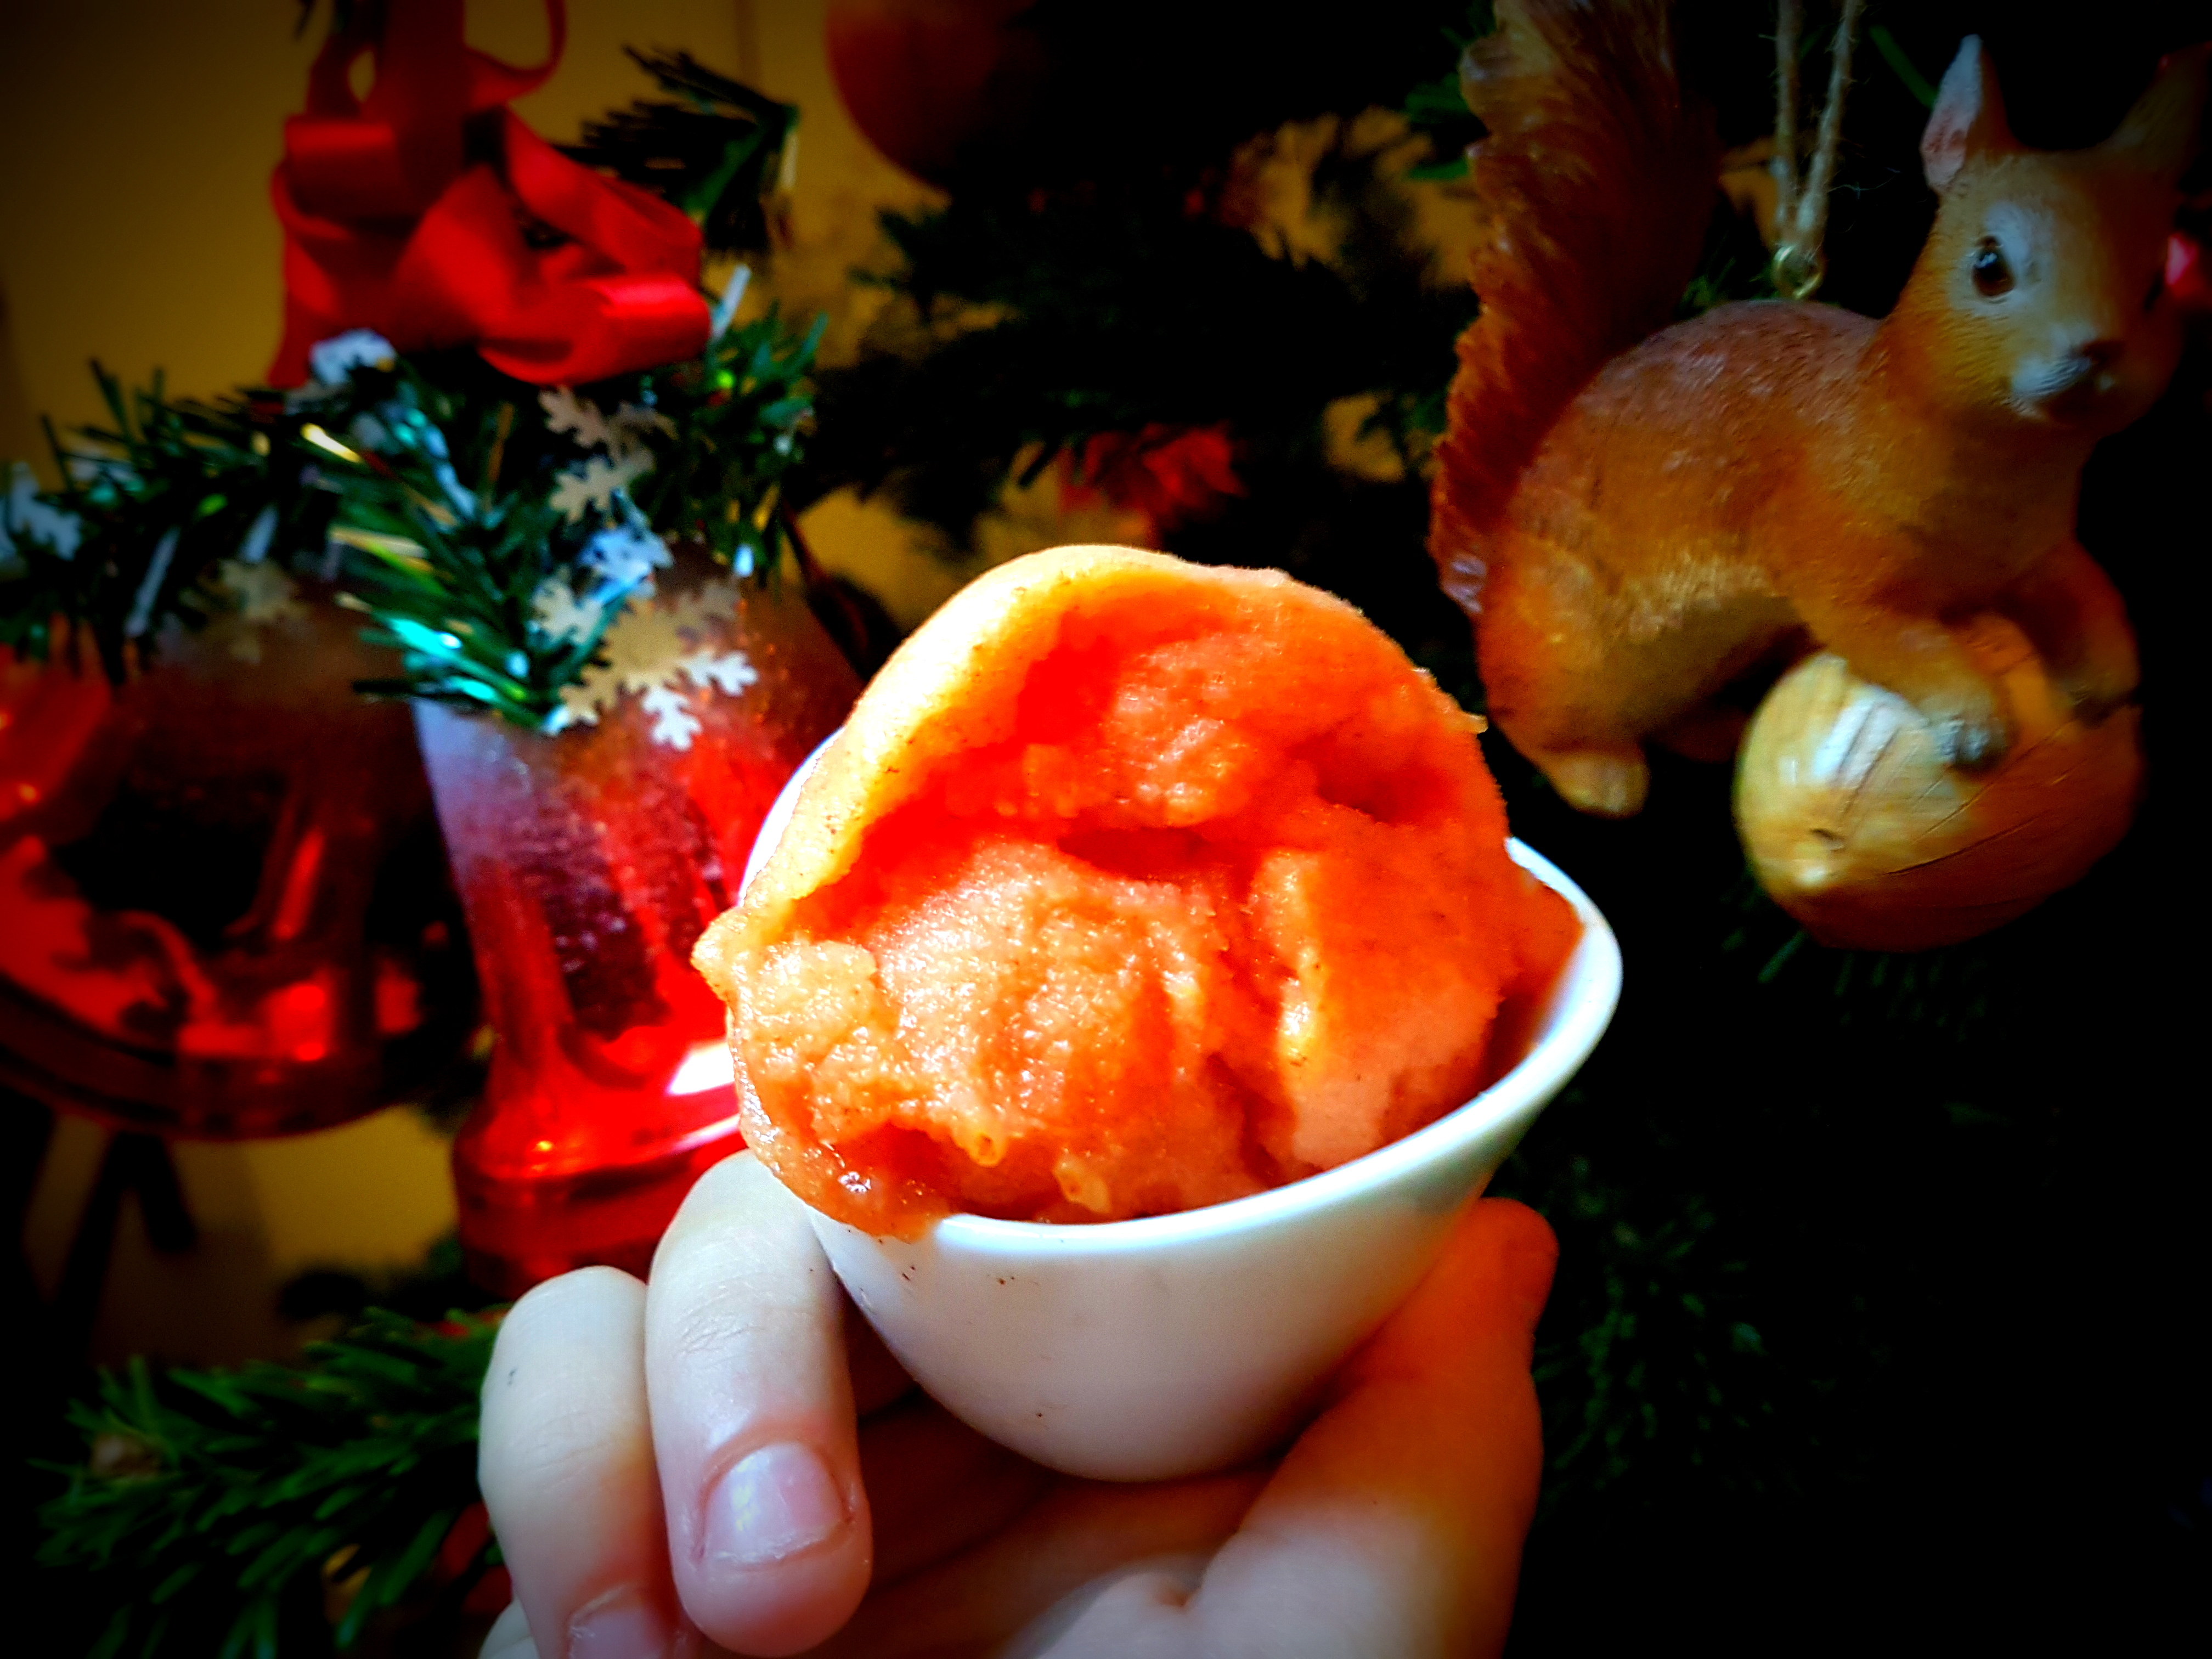
A happy union of delicious red berry goodness and nice consistency
Ah! The ‘firm custard’ recipe continues to impress, and it has certainly become a personal favourite of mine: it remains the possibly best egg-based recipe I know of for making quality ice cream without an ice cream machine. And the red currant ice cream is a luscious gem!
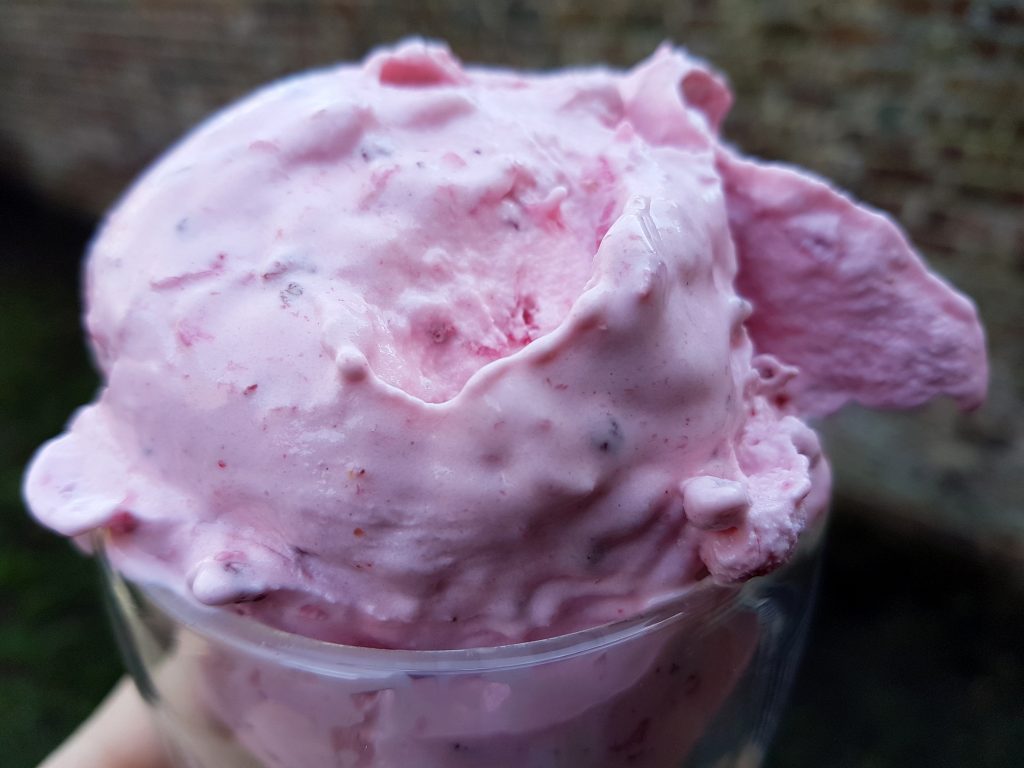
Deliciously sweet and refreshing Redcurrant ice cream – Not to be missed!
Thanks to the small but significant inclusion of a little gelatin (alongside the berries’ naturally high level of pectin), the ‘firm custard base’ provides the classic egg-based ice cream feeling, and without going over-board on neither eggs nor cream. The overall consistency and texture of the ice cream is impressive, even after days of storage in the freezer.
Still feeling a bit hesitant because of the typically so tart redcurrant flavour? Don’t worry – in this ice cream, the delectable flavour core remains, but most of the tartness has been mellowed out. The final result is refreshing, and the overall flavour surprisingly pleasantly rounded and sweet. Even if you don’t normally care much for redcurrants – do yourself a favour and give this recipe a try: I bet you won’t regret it!
- About 250 gram redcurrants
- 50 ml (1/5 cup) + 50 ml (1/5 cup) sugar
- 200 ml (0,85 cup) cream
- 200 ml (0,85 cup) milk
- 3 egg yolks
- 1 tablespoon vanilla sugar
- 1 tablespoons of brown sugar (or raw cane sugar)
- Optional:1 tablespoon Agave nectar (or other inverted sugar). If not using, add +1 tablespoon of brown, raw or white sugar)
- ½ sheet of gelatin
- De-stem and rince the berries and purée them with half of the sugar. Set aside for later.
- Put the gelatin to soak in a cup of cold water. Set aside for later.
- Mix the cream, the milk, the egg yolks and the remaining sugar(s) including the Agave nectar in a saucepan.
- While whisking, bring to an almost-boil (up to a maximum of about 85º C/185º F).
- Add the soaked half-sheet of gelatin and whisk until it has dissolved.
- Add the redcurrant purée, whisk well and take off from the heat.
- Let the ice cream base cool down, then chill in your refrigerator.
- Pour the chilled ice cream base in a freezer-safe container (with a lid) and put in your freezer.
- Wait for about an hour, take it out and churn thoroughly by hand, using a fork.
- Put back into the freezer and wait about 30-45 more minutes. Grab your fork and repeat the hand-churning, doing so until the ice cream has frozen to a nice, "ice creamy" consistency (count on about four hours or so).
- Enjoy fresh, or leave it in the freezer for later.
- Pour the ice cream base into the machine and churn according to instructions.
- Enjoy fresh or store for later it in your freezer

1 Response
[…] Red Currant Ice-Cream […]