Pearly Banana ice cream (the tapioca-way)
Time to test a delicious banana ice cream recipe without eggs but stabilised by tapioca! Yes, it is indeed a variation of the Sicilian gelato. And if I only had been more careful when choosing my tapioca, it would have been a very smooth experience too.
Still – all’s well that ends well!
Infused banana ice cream without eggs
As avid readers know, I hold Stella Parks in high esteem and am particularly fond of her infused (custard-based) banana ice cream. While that recipe is truly delicious, I wanted to test how it would turn out without the eggs. To maintain a pleasant consistency and scopability, the stabilising effects of the eggs would need to be replaced. Turning to the Sicilian gelato-way of using starch instead of eggs, I decided to go with tapioca!
Sicilian gelato, cassava and tapioca starch
There are many starches out there to choose between. While I usually go for corn starch or arrowroot, I wanted to check if all the good things I’ve heard and read about tapioca starch were correct.
Tapioca is a gluten-free starch extracted from the cassava root, also known as “Yuka” or “Manioc”, and with South American origins (some producers use other roots and still label them “tapioca”, so make sure that your tapioca really is made from cassava).
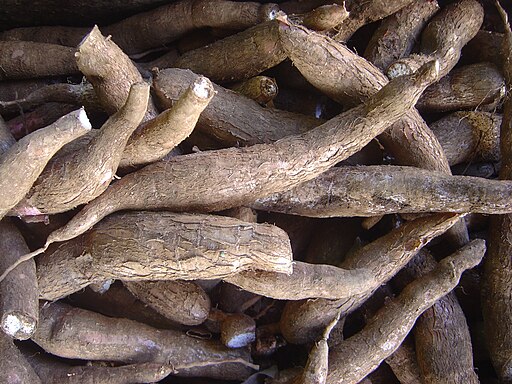
Cassava roots (photo by David Monniaux).
Like other starches, tapioca stabilises – primarily by absorbing a lot of liquid that otherwise would freeze and turn the ice cream unpleasantly hard. I had heard a lot of good things about it: in contrast to (under-cooked) corn starch, tapioca would leave no flour-like after taste, and would not require any prolonged heating (as it starts to thicken already between 52°-65,5° C /126°-150°F). In addition, it handles being frozen very well.
In conclusion: Speedy and effective, flavour-neutral, freezer-proof, and requiring relatively little heating to work: could it be better?
With regard to proportions, and while I’ve read differing views on this, I decided to go with a source that suggested to use twice as much tapioca as corn starch. Mind you – others have used 1:1 and been happy with that, so ultimately let your own preferences for optimal texture guide you on that.
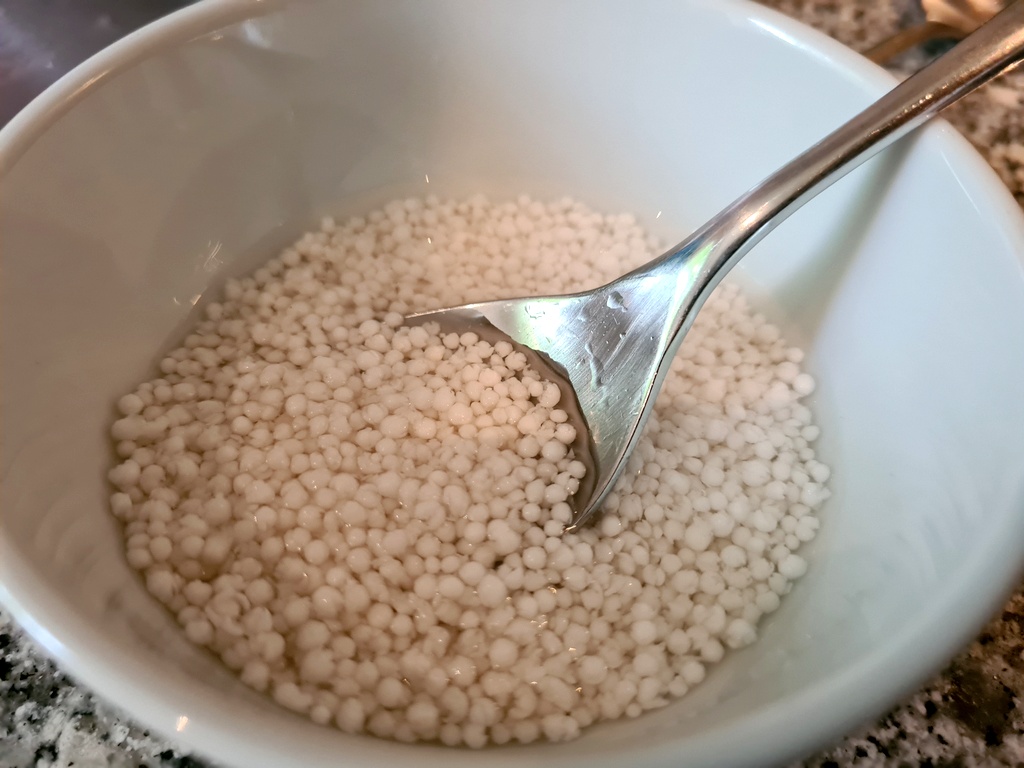
Tapioca starch tends to come in two forms: flour or very small, granular “pearls”. And here, I made my mistake.
Creating “pearly” ice cream by mistake’
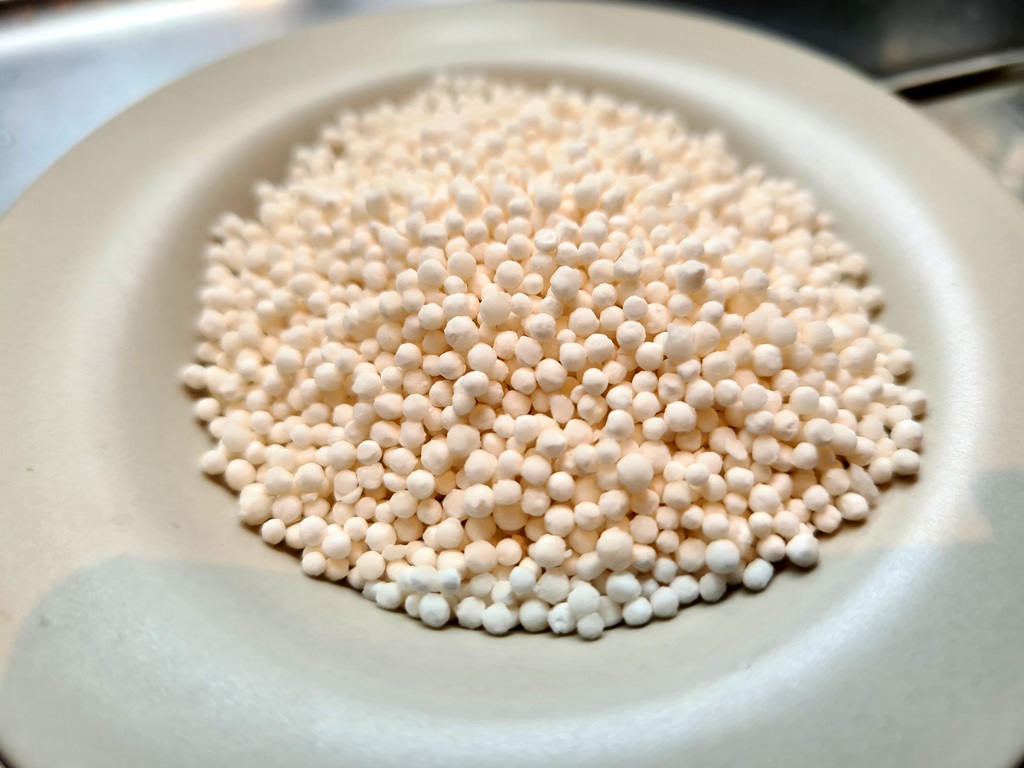
When shopping for the tapioca, ignorant me picked up a package with the granular pearls. As I was about to find out, the granules did not dissolve during the process but basically maintained their shapes throughout – ending with me having created an ice cream full of tiny, gelatinous mini-pearls of tapioca! To my relief, these luckily turned out to be pleasantly chewy and highly edible. Since I’m quite fond of a bit texture in ice creams, the (unintended) result turned out delightfully! Soon, I also could conclude that the pearls had done their stabilising duty too, in all the hoped-for ways!
However, if you’re in favour of super-smooth ice creams, be warned: you’re clearly much better off with tapioca flour than tapioca granules 🙂
The easy steps
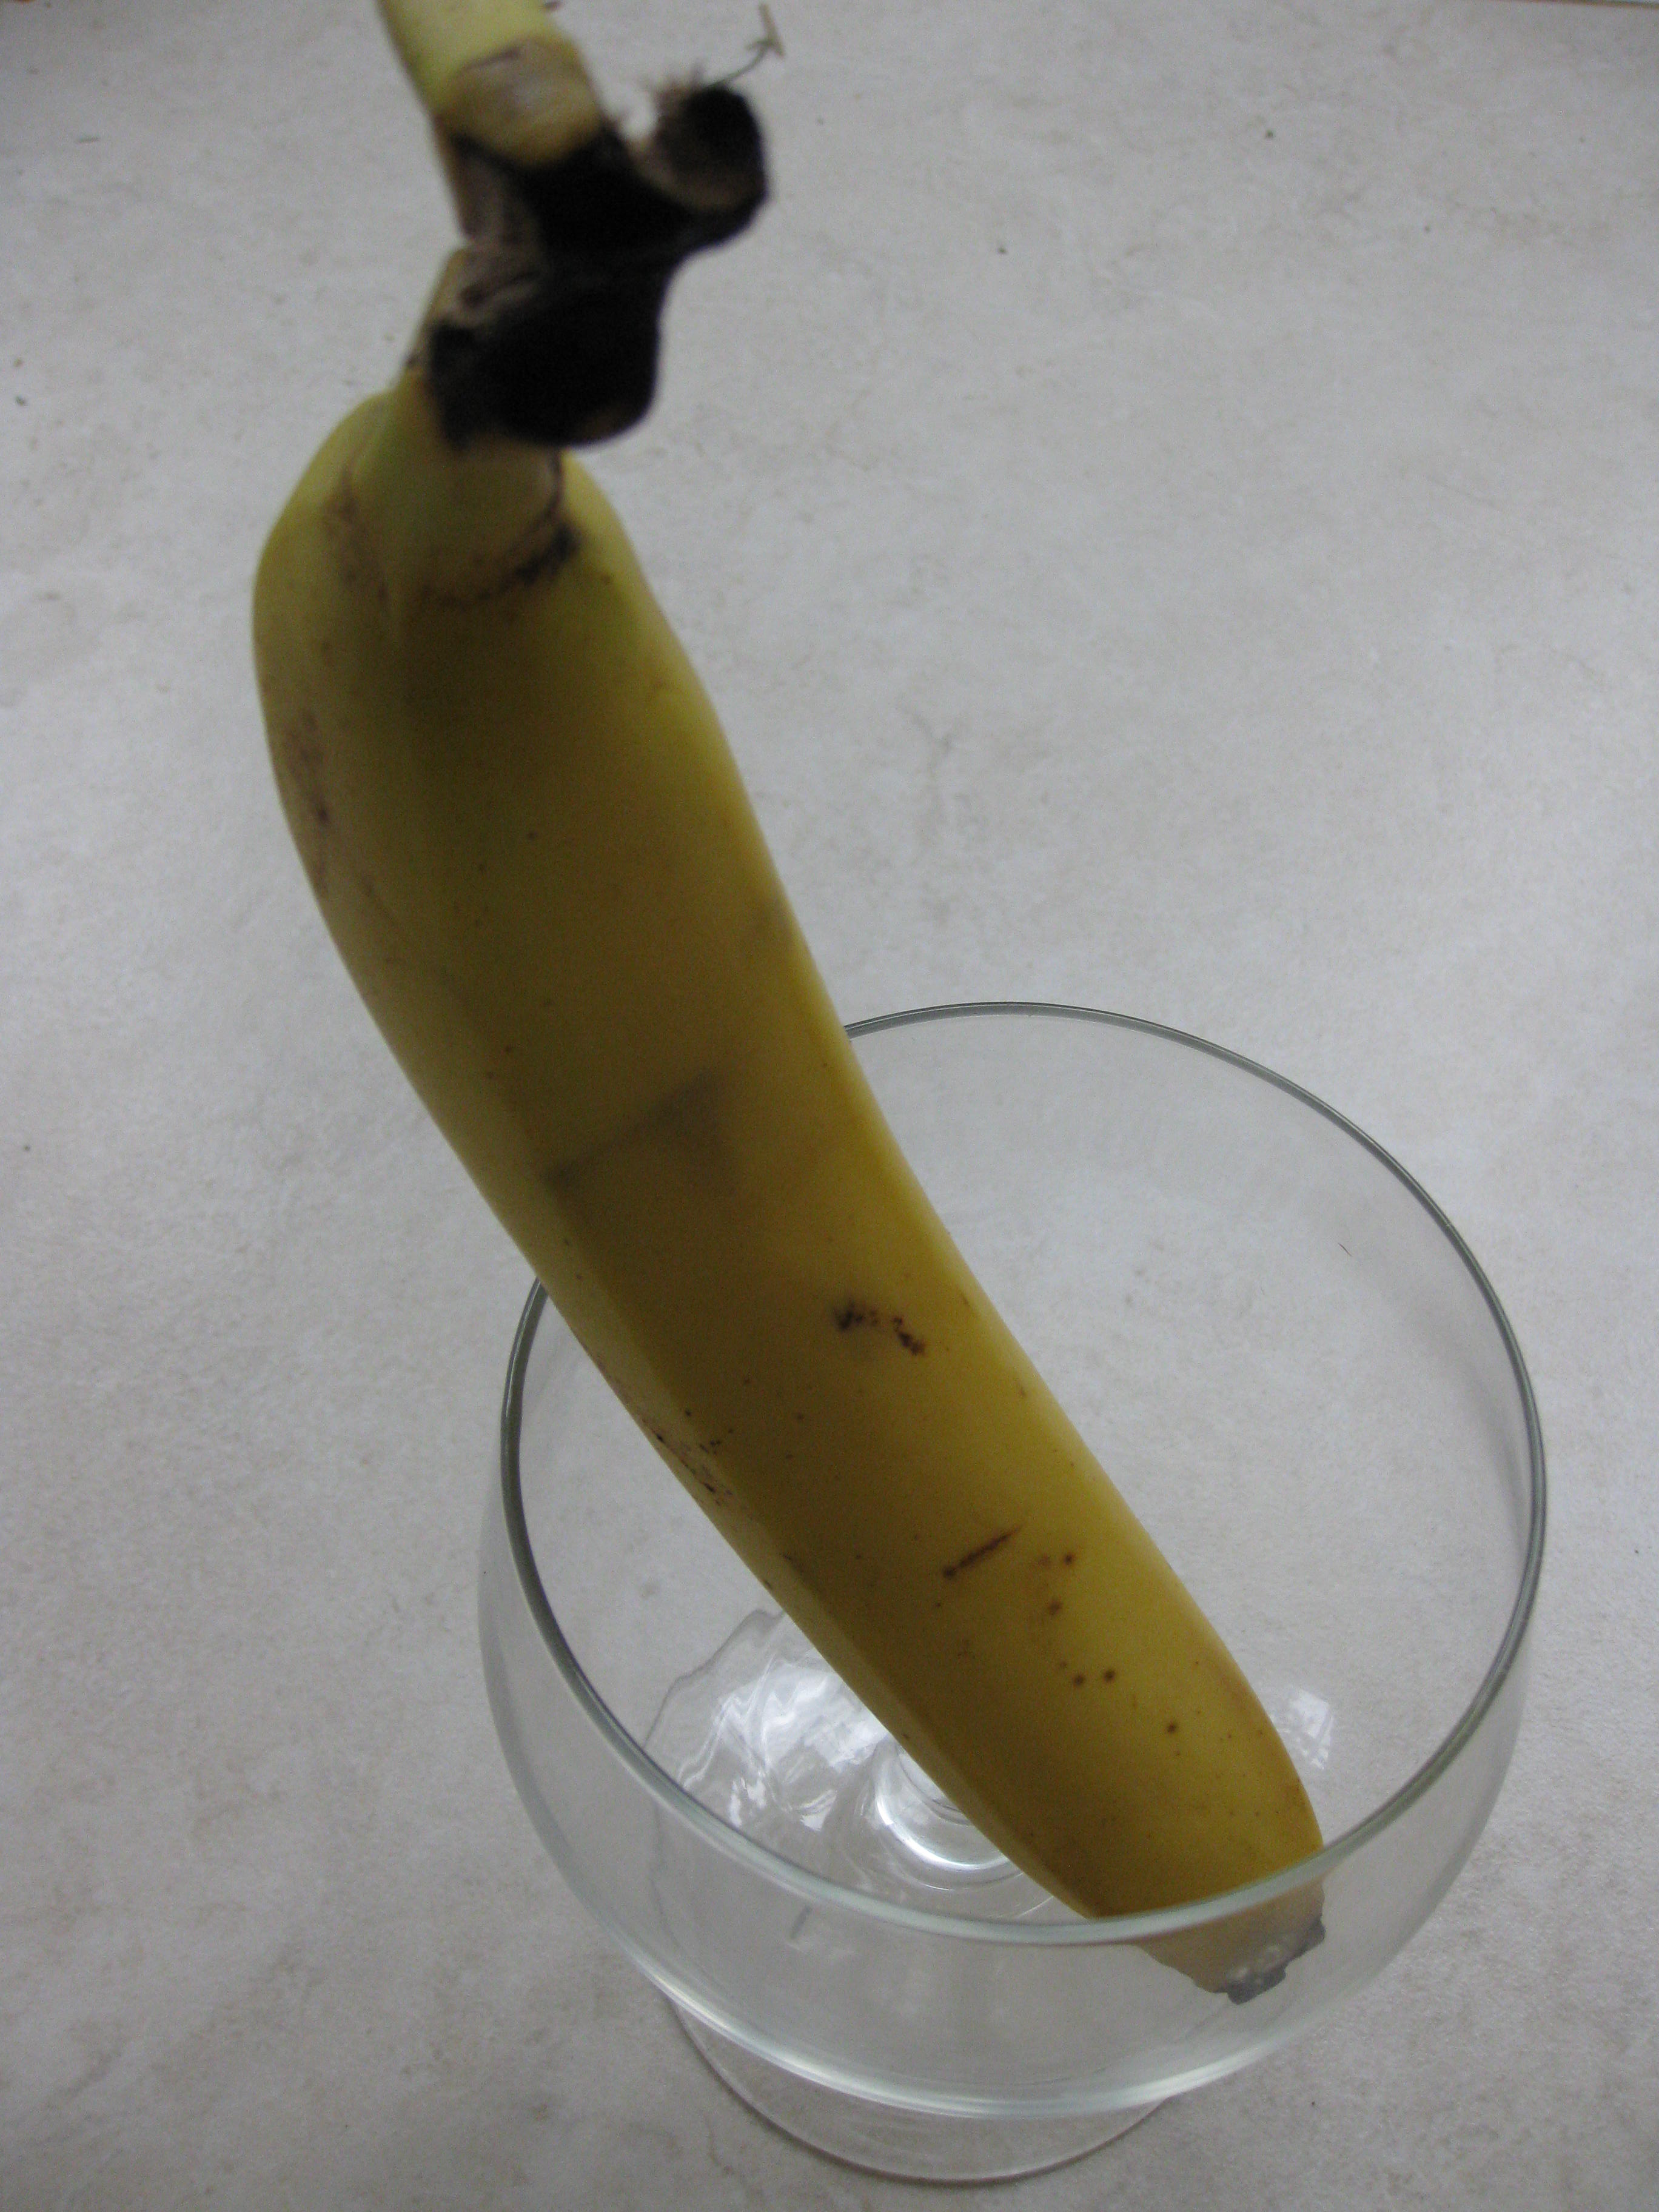
Get hold of 3 preferably over-ripe bananas: they may not look very appetising but are perfect for making ice cream!
Slice the bananas, put them in a sauce pan together with the dairy, the vanilla and (if using – I did!) the cinnamon. Stir every now and then until the mixture begins to simmer.
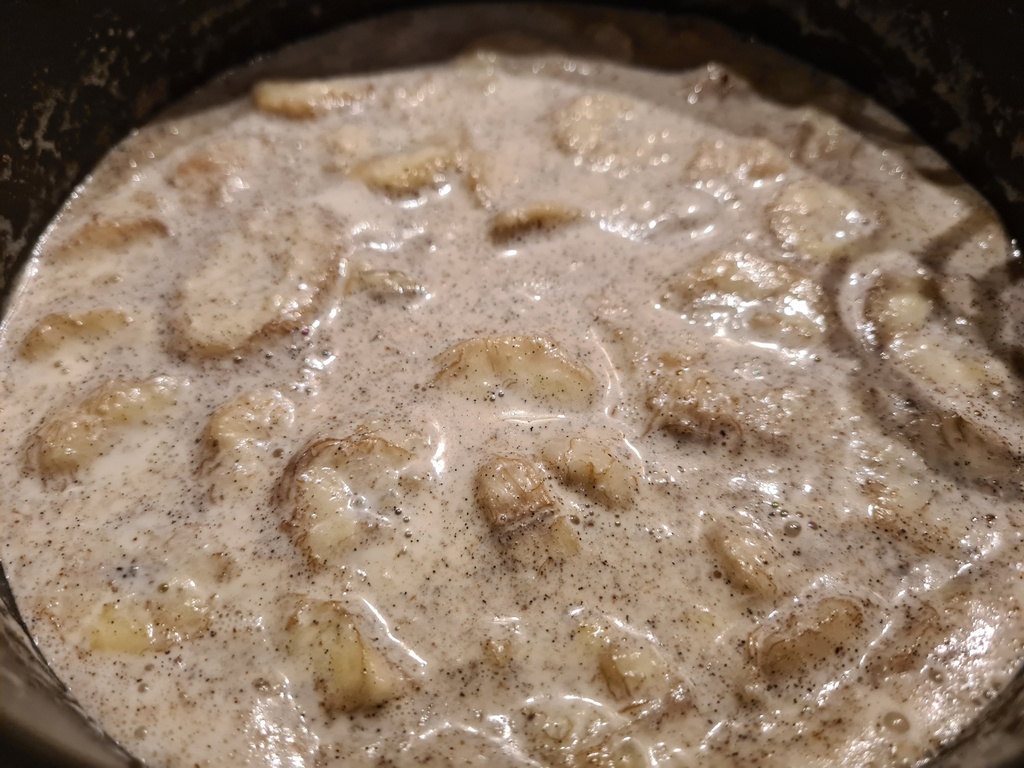
The start of it all!
Put aside in your refrigerator to infuse, preferably overnight. Stella Parks and others suggest to wait a full 24 hours (or even longer), but in my experience this is not really necessary: even with a shorter time, you’ll still get a great banana flavour!
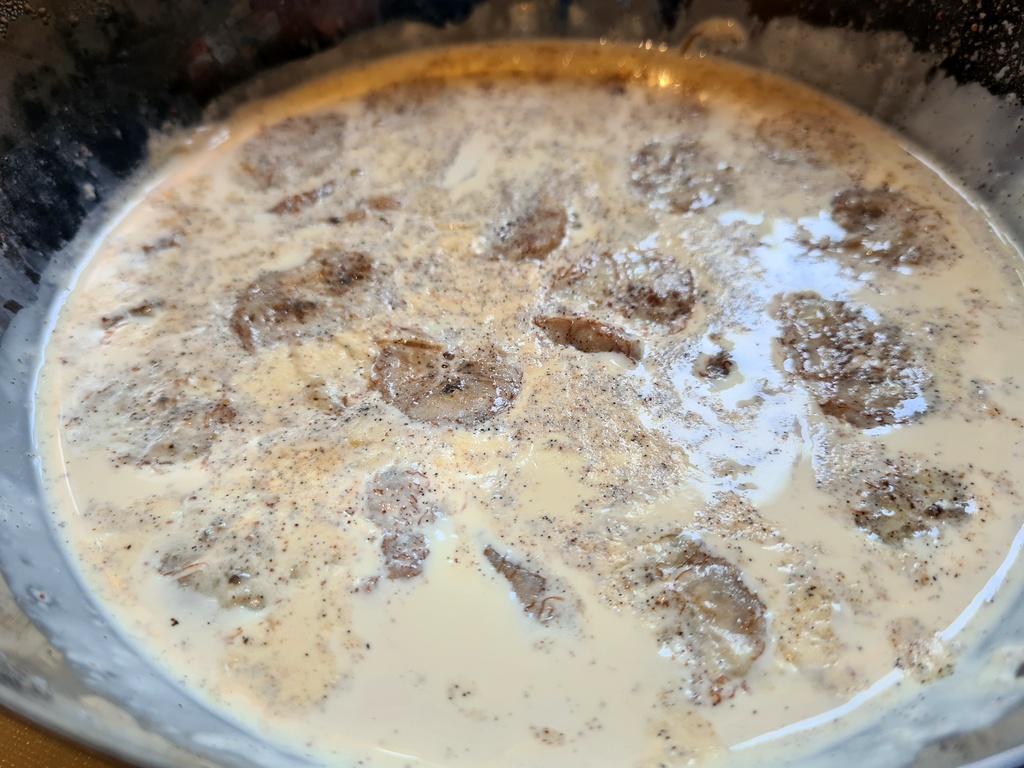
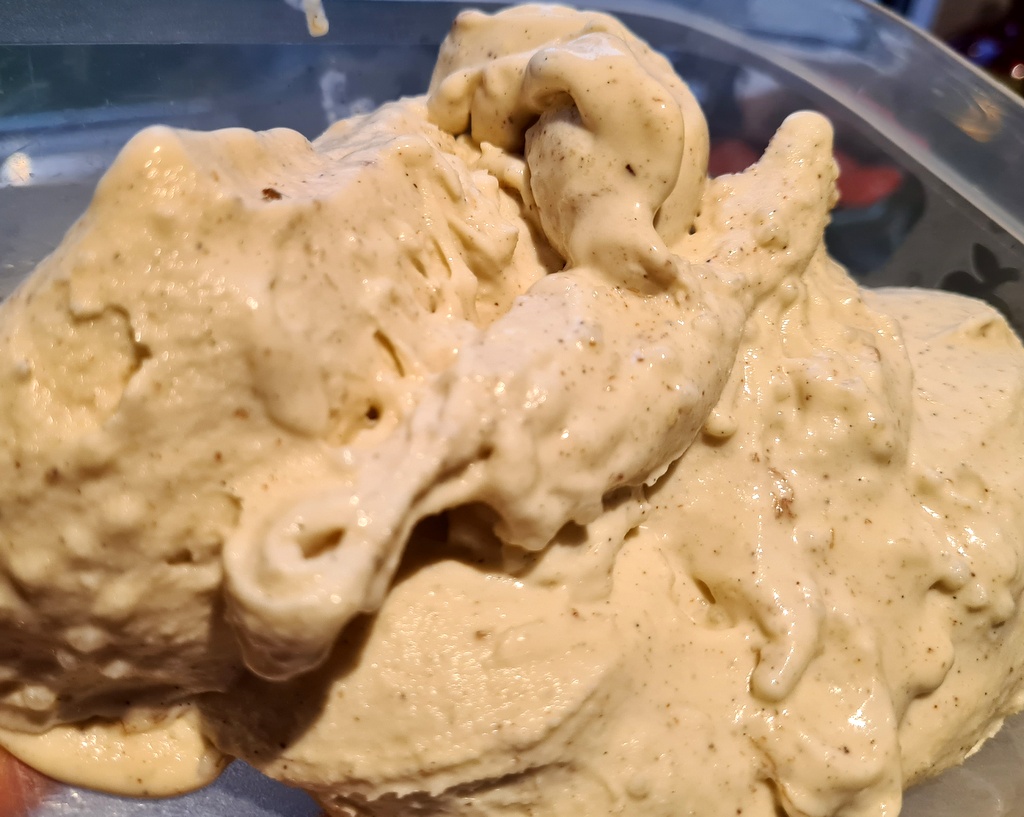
The base after an infusing night in the refrigerator
I used a spatula and a simple sieve for the next step: Pass the base through the sieve (over a sauce pan). Pressure the remaining pieces of banana to ensure that they give off whatever dairy they still contain. The mashed banana pieces should remain in the sieve: we won’t use them in the ice cream!
Now, instead of making a custard with eggs we’ll go the starchy route!
Like other starches, tapioca should be put in a little water before being used. This is extra important if you’re using tapioca flour, but seemed to work well also with the pearls. Unlike flour, the pearls do not disperse in the water but they do soften up a bit. About 30 minutes or so worked fine for me.
Mind you: As tapioca pearls can differ – some are pre-cooked, others are not – you may want to check any special cooking instructions that come with them.
When the tapioca has softened up (if using pearls)/dispersed (if using flour), bring the banana-base to a simmer and add the tapioca.
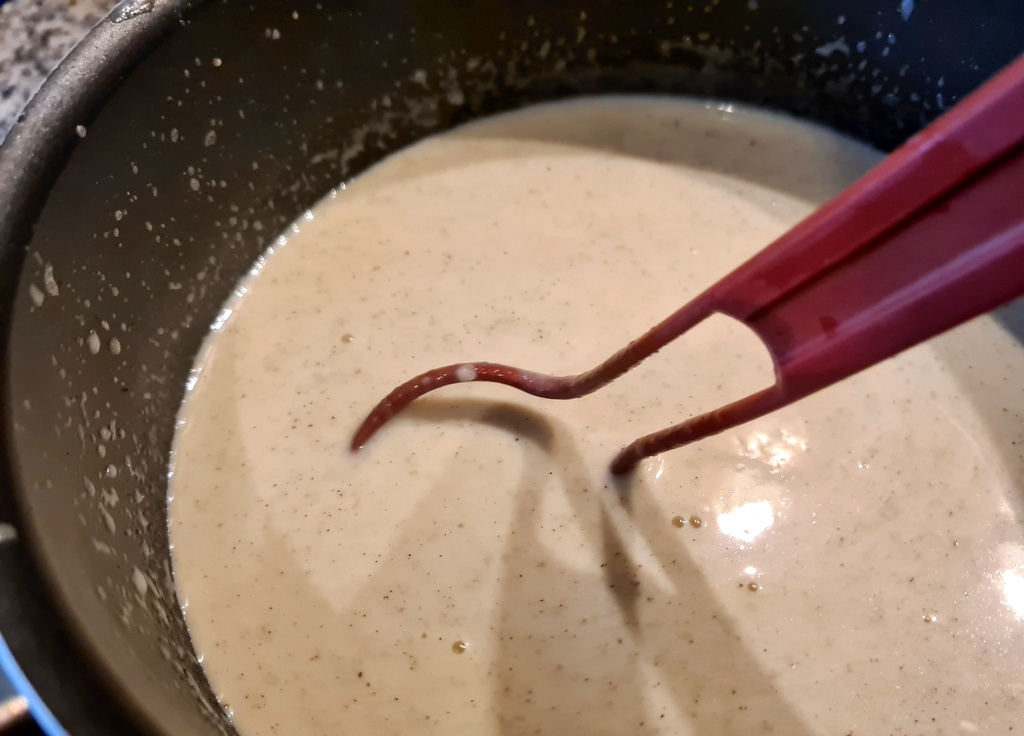
Tapioca starch “activates” already at quite low temperatures, so once you’ve added the tapioca and whisked the base you can take the sauce pan off the stove and just let the whole base cool down.
As I found out, the tapioca pearls – now softened and slightly expanded – retained most of their shape during the cooking process.
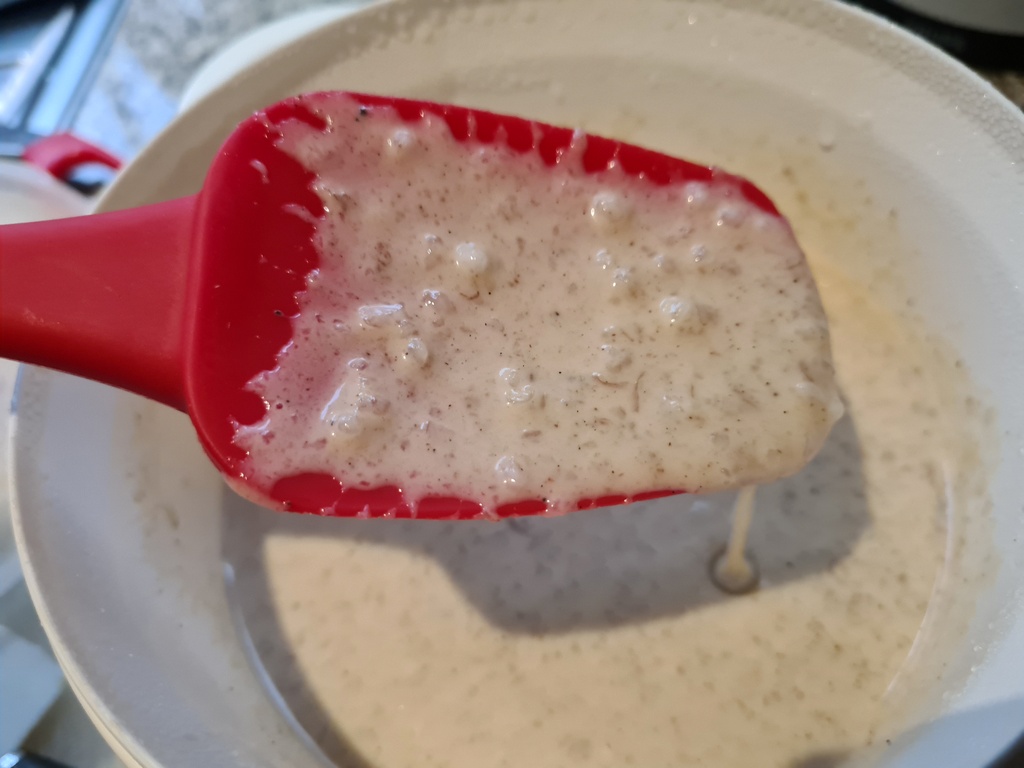
When the base has cooled down, put it in the refrigerator to chill for a few hours or over night. Then churn in your ice cream machine (or – if you have no machine – still-freeze the ice cream in your household freezer).
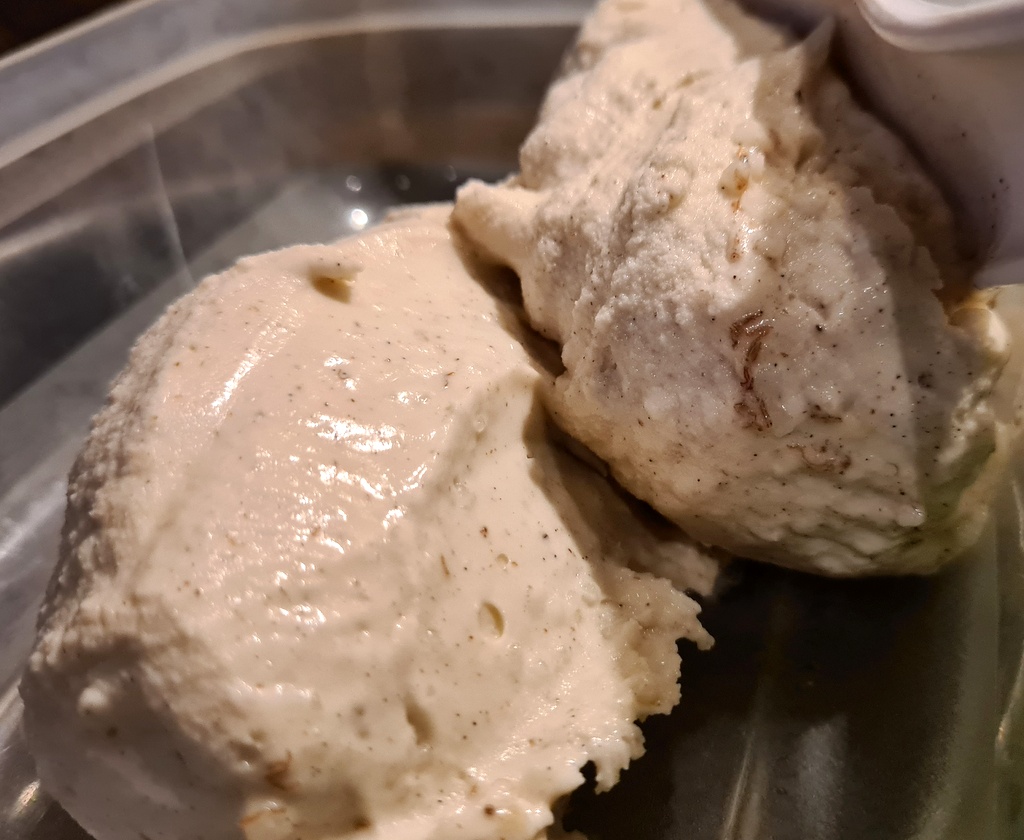
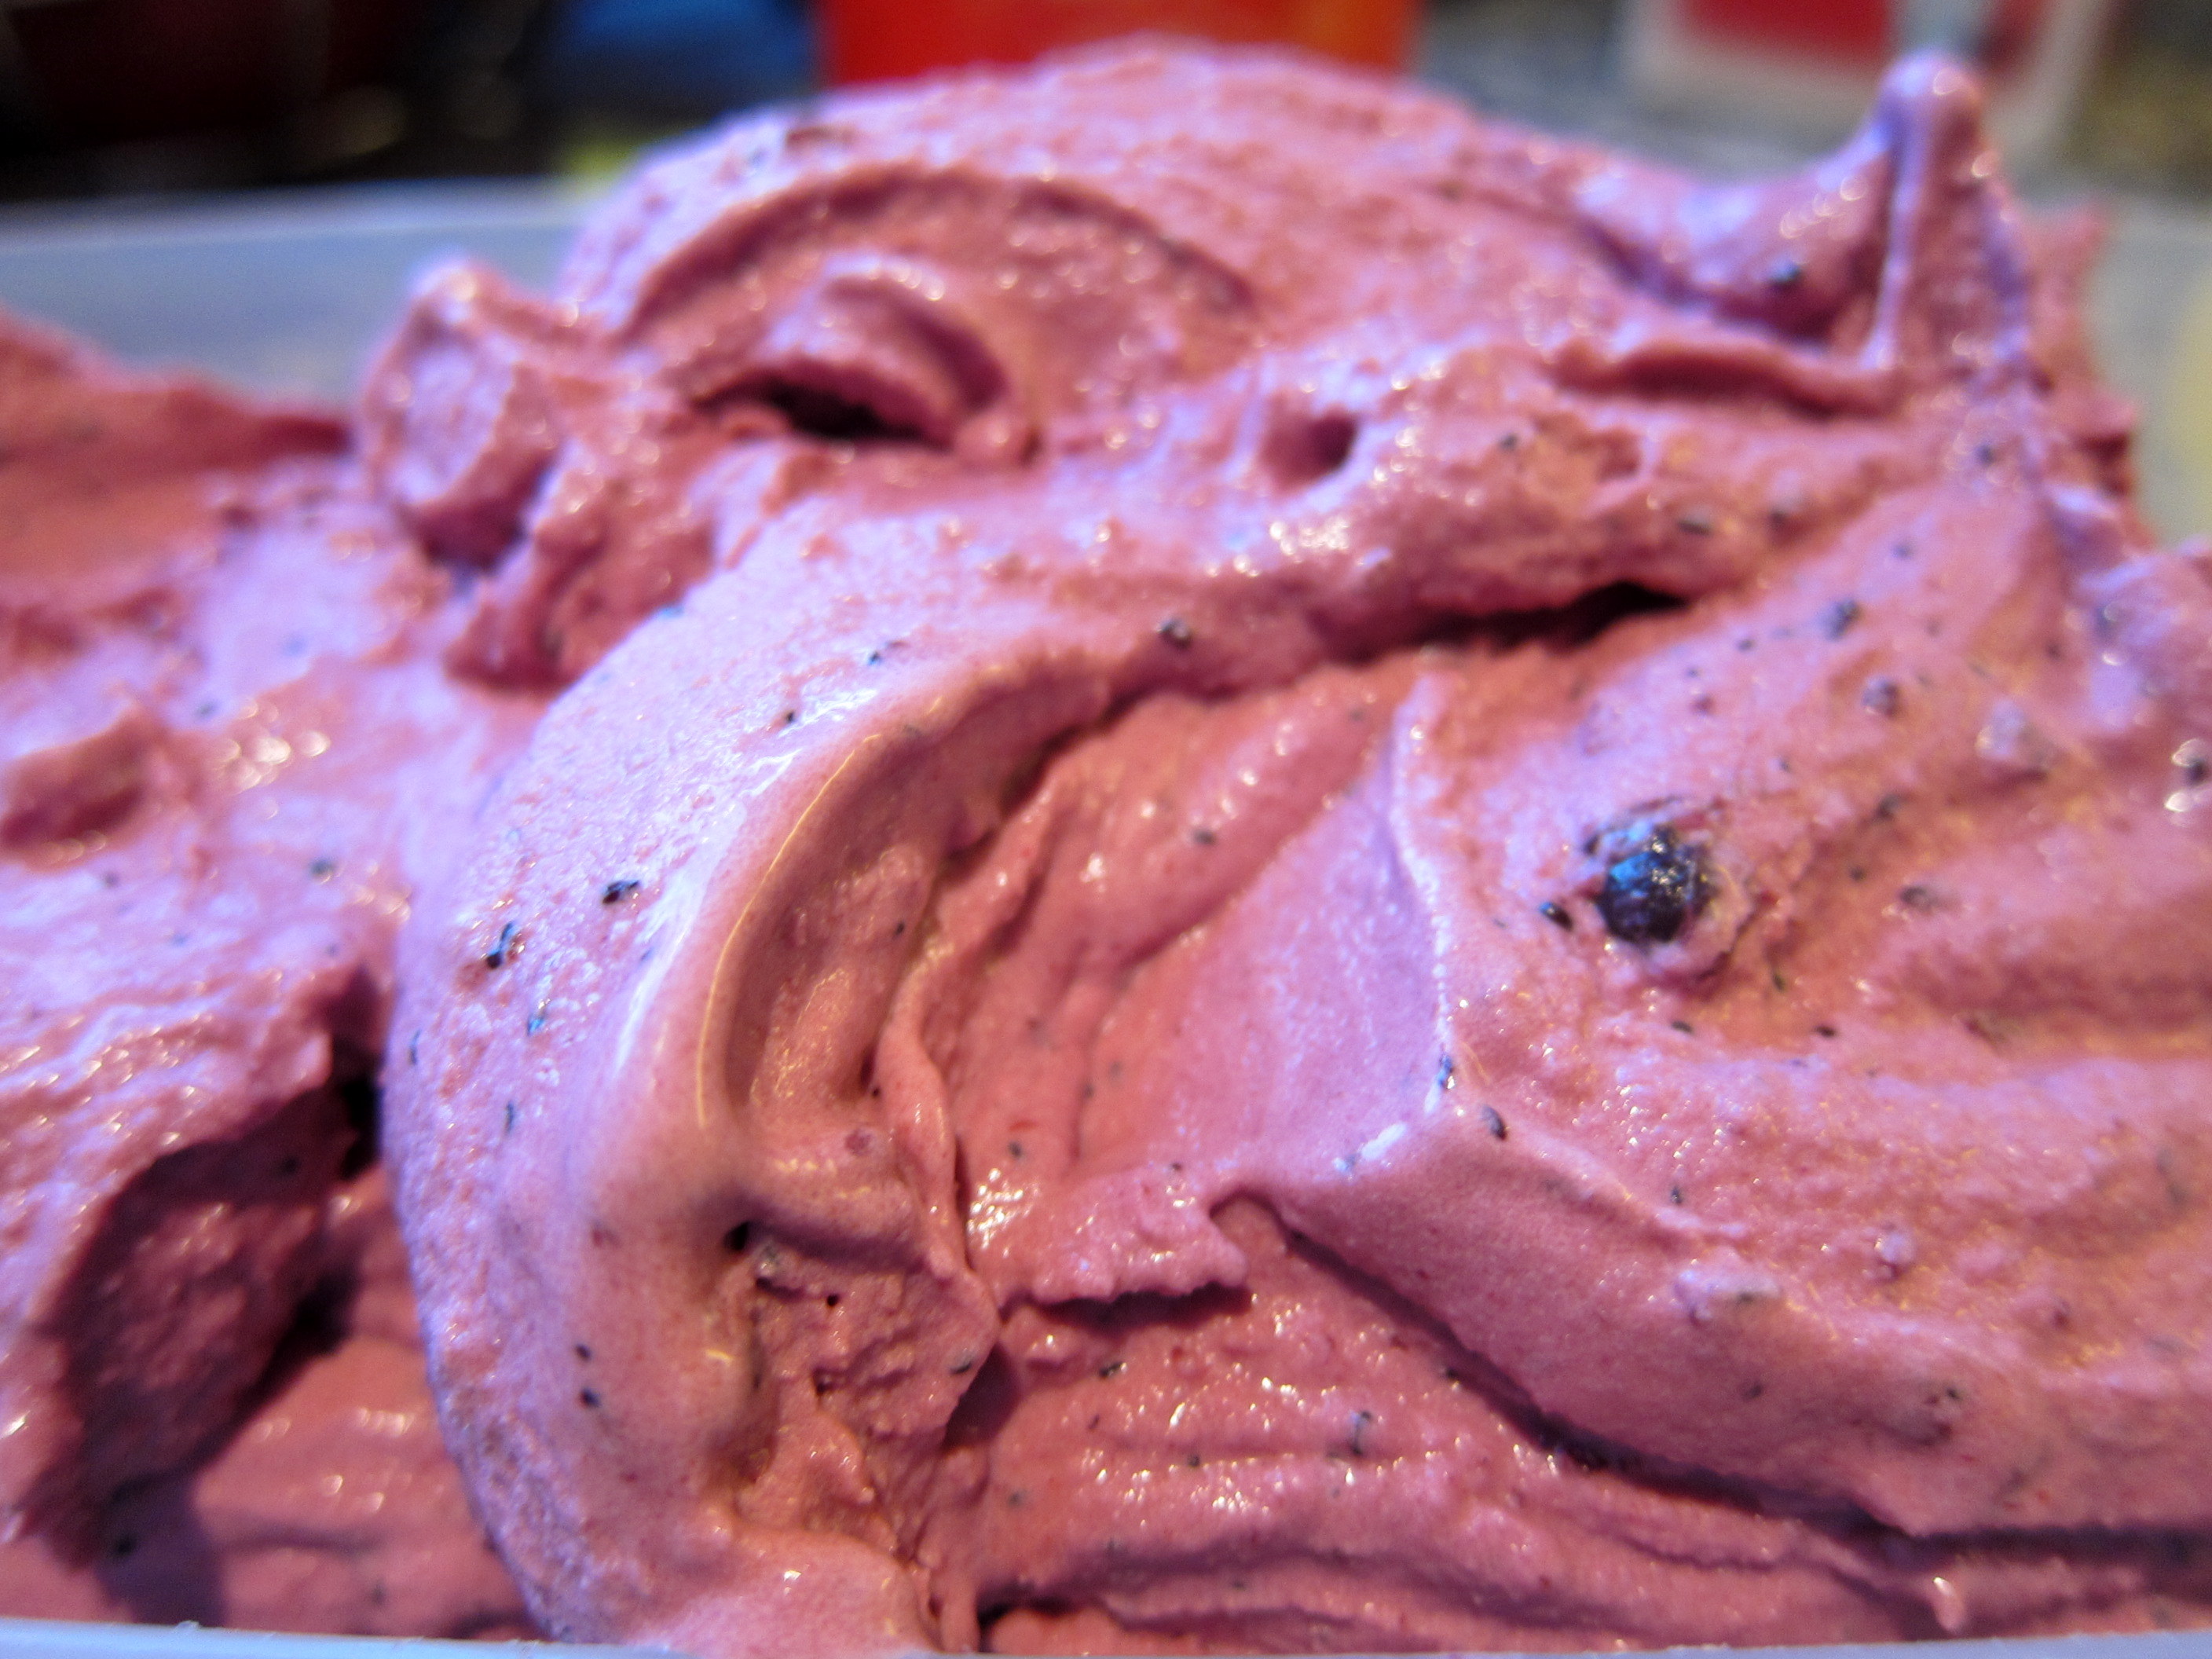
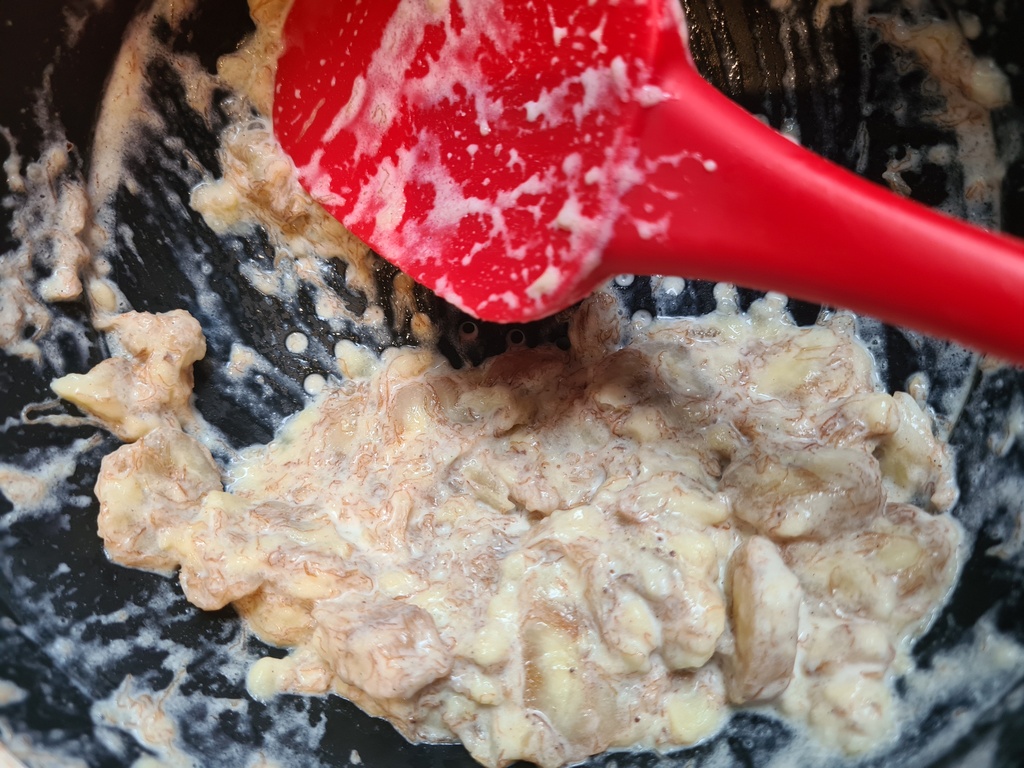
Mmm … banana ice cream with pearly tapioca

Delicious banana ice cream with surprisingly pleasant bumps
The infused banana method creates the best banana ice cream I know! This ice cream tastes more of banana than most other banana ice creams that I have ever come across, and it baffling how much of the flavour can be extracted and concentrated by the infusion. The optional touch of cinnamon goes perfectly with the rest, and I recommend to add that in.
So how did the tapioca work out? The result turned out to be great – even if the “pearls staying pearls”-part was unintended. The flicks of tapioca throughout the ice cream made for small, chewy and quite delightful inclusions. Still, those who prefer their ice creams totally smooth should clearly for tapioca flour, not pearls 😉 . The tapioca itself left no flavour-trace, making for a perfectly neutral stabiliser.
Since the pearls stayed in shape, I had some worries that their stabilising powers would have been all spent but there was nothing to worry about: even after a few days in the freezer, the consistency stayed nice and scoop-friendly: also a testament to tapioca’s “freezer-safe” qualities .
And the flavour was great – just the kind of delightful banana you’d dream of! Don’t miss it!
- 300 ml (1¼ cup) cream
- 200 ml (close to 0,9 cup) milk
- 3 large preferably over-ripe bananas
- 5-6 tablespoons of tapioca pearls (or tapioca flour, if you prefer smooth-only ice cream;-)
- 125 ml (about ½ cup) sugar
- about ½-1 teaspoon genuine vanilla extract
- optional: about 1 tablespoon inverted sugar such as corn syrup or its likes
- optional: about ¼-1/2 teaspoon ground cinnamon
- In a sauce pan, mix the milk, the cream, the sugar(s) and add the vanilla (and cinnamon, if using) and the sliced pieces of the bananas. Bring to a simmering almost-boil, then take off from the heat and let cool down.
- Once cooled down, cover and put aside in the refrigerator to infuse for, preferably, at least 24 hours.
- Once the infusion is over, sieve off the banana pieces from the dairy: gently use a spatula or similar to extract as much of any remaining liquid from the banana pieces. Discard what is left of the banana pieces and prepare the final base.
- Mix the tapioca pearls with a little cold water and set aside to soak for about 30 minutes.
- While stirring frequently, bring the ice cream base to a simmering boil (or at least up to about 85 degrees Celsius/185 º F).
- Add the tapioca, whisk and take the base off the heat.
- Let the base cool down and then chill overnight in your refrigerator.
- Churn the chilled base in your ice cream machine, or still-freeze using only your kitchen freezer (see separate post here on the blog on how to best do this!)

Great consistency – and flavour – also after a few days in the freezer!