Fried ice cream balls
Interested in putting your ice cream into the frying pan? If so – read on for a sizzling hot way of preparing our favourite frozen dessert!
Frozen ice cream – the roots and the basics
Like with so much else in ice cream history, there is no clear answer to who and where the mind-boggling idea to fry ice cream first originated. Some records point to China around 1800 as a prime candidate, but it is in any case very clear that the dish has moved around quite a bit: today, it is often associated with Asian cuisine(s) in general, as well as with Mexican cooking.
There are a few variations, but the basics remain the same: extra-cold ice cream is covered in some kind of protective batter/shell, then deep-fried and served.
You may have your favourite batter for frying, and that’s OK: I’ve seen many different recipes with or without egg white and with different flours, crushed wafers, corn starch, crushed nuts and more. The most important is to find a batter that will work for deep-frying AND stay pleasantly tasty.
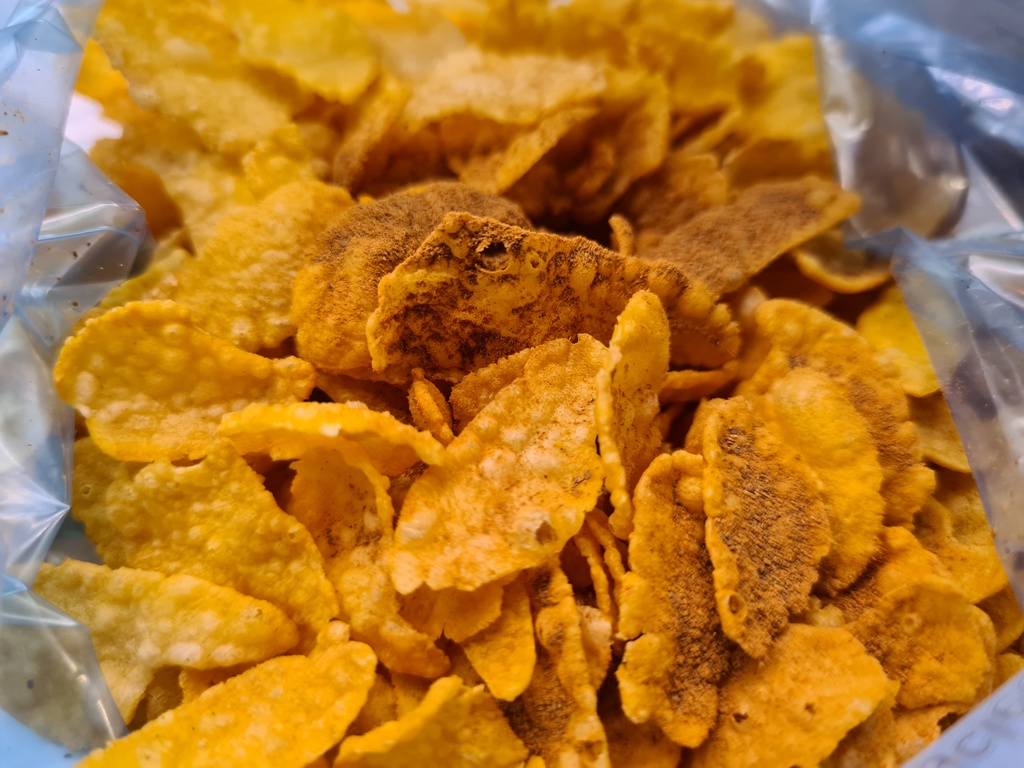
Myself, I used a mix that was both very easy to make and surprisingly tasty: crushed corn flakes mixed with some ground cinnamon. Then a whipped-up egg white in order to make it all stick.
[I should mention an alternative to deep-frying, courtesy of Jaclyn from Cooking Classy. In her version, the shell mix is prepared on the stove and then applied to the ice cream balls. Needless to say, that will create a somewhat different texture experience, but do check it out in case you want to try it! ]
The technique
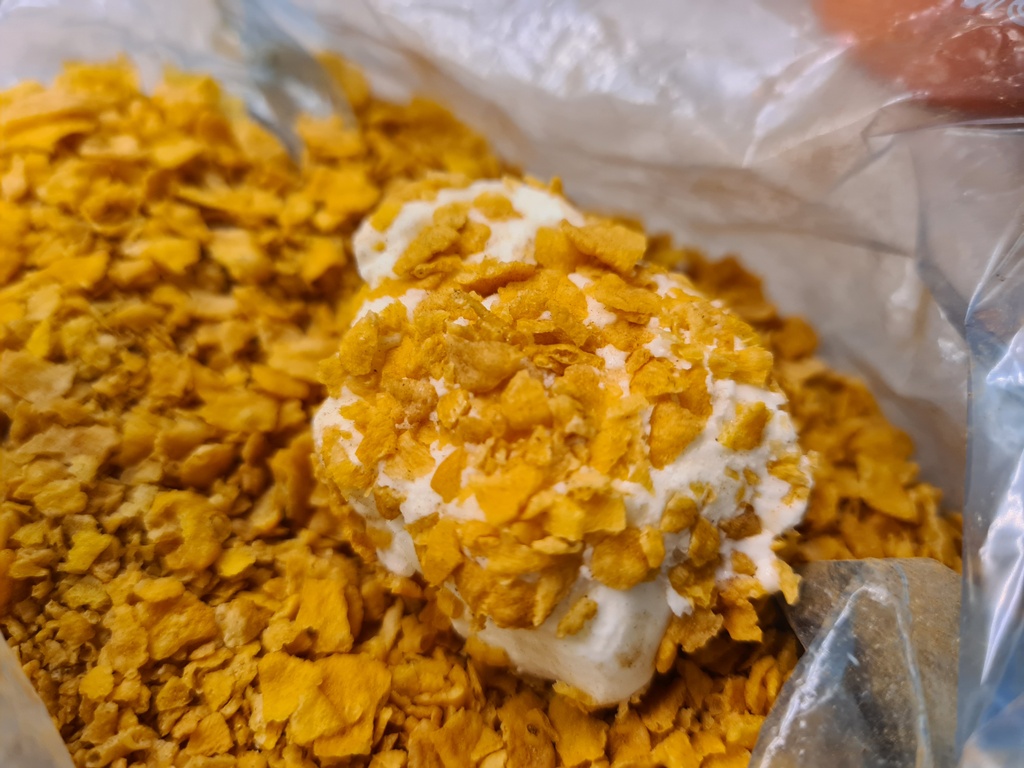
Prepare the “batter-mix”: put some corn flakes in a plastic bag together with some ground cinnamon. Mix well and crush.
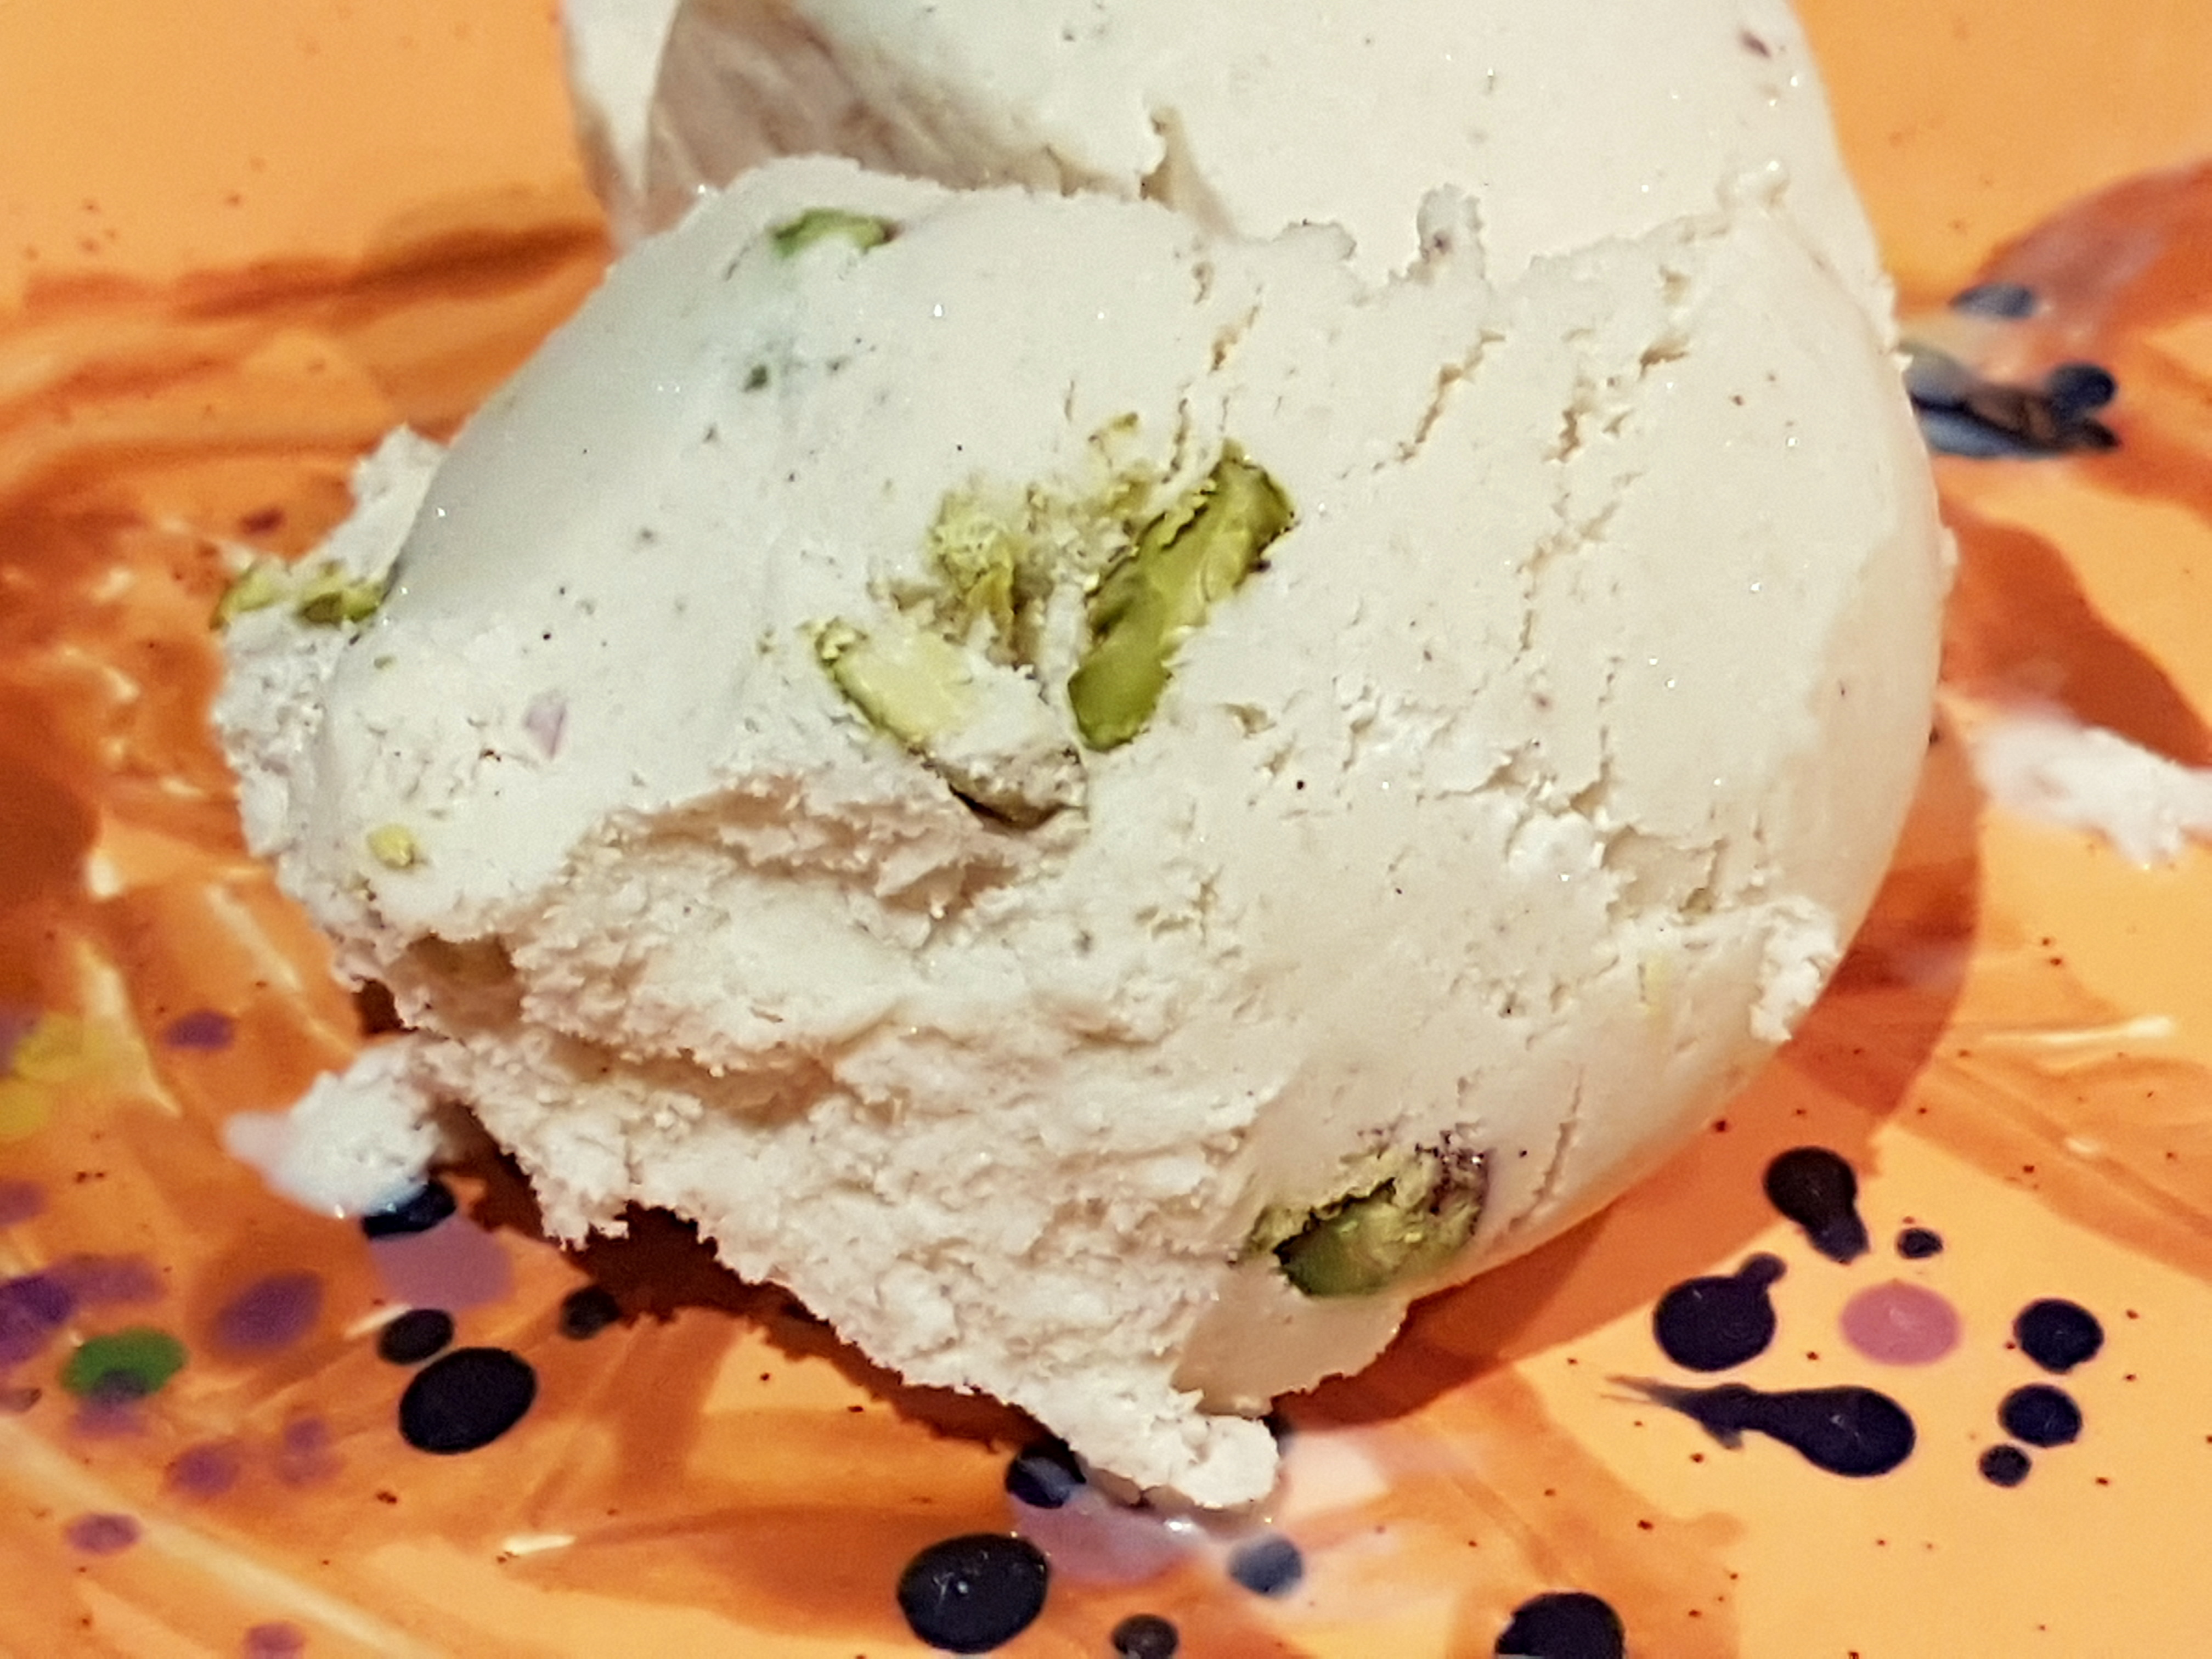
Pick your favourite ice cream – in a pinch, you could even go for store-bought. I chose to go with classic vanilla but again, the choice is yours!
Scoop up some ice cream balls, forming them to preferred size and form. You could stick to “scoop-sized” or move up towards “mandarin-size”.
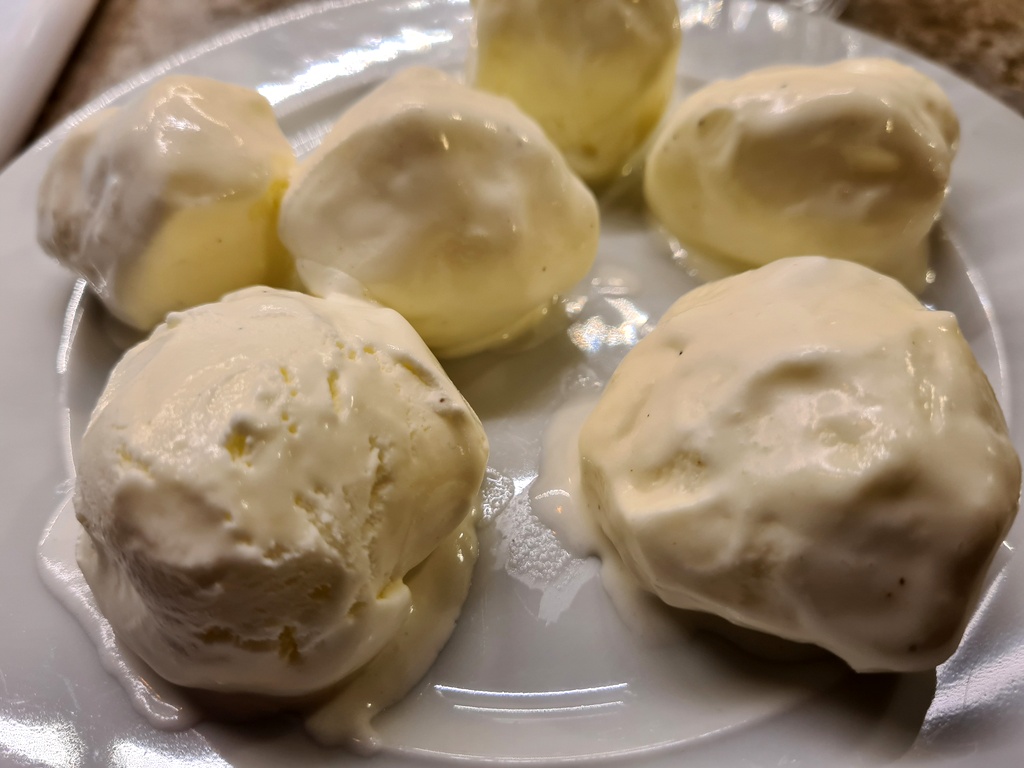
Yeah, I know. Not exactly industrial rounded perfection and now also a bit too soft to be rolled in the corn flakes. I had to put them into the freezer for a couple of hours’ hardening – if you’re working faster than me, you may skip that step 😉
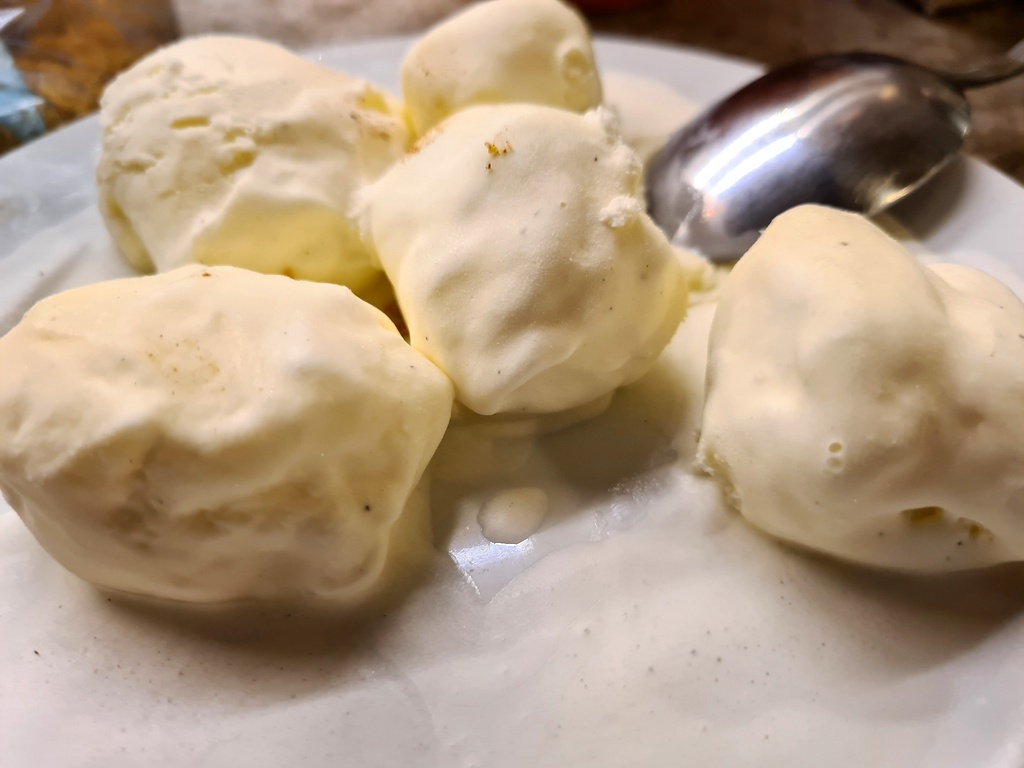
This is better: these ice cream balls should be cold enough to be covered in our corn flakes-mixture.
If your ice cream still is cold and holds well together, roll the balls in the crushed corn flakes/cinnamon. Whisk up an egg white, roll the balls in it, then quickly re-roll them in the corn flakes crush mix again: the ice cream balls should now be well and duly covered!
The next step is quite crucial: in preparation for the final frying, put the “battered” ice cream balls in your freezer for at least 2-3 of hours or over night. In case you want your fried ice cream to come out OK, the ice cream needs to be very cold when it goes into the frying pan. Take it from me – if you are impatient and fry “less hardened” ice cream, it will melt too quickly and most likely destroy your balls from the inside … so to say).
Ready for frying after a few hours in the freezer to firm up!
Heat the frying oil to about you should be alright if you drop a few corn flakes into the oil and they start to fizzle).
Now, fry the ice cream balls one by one for about 160° C / 320° F until pleasantly golden: aim for max 10 seconds of frying time. If you go for longer, there is a risk that the ice cream will melt too much and they will crack. If so, they will still be tasty but will not be as visually or structurally impressive as the balls that hold together 😉
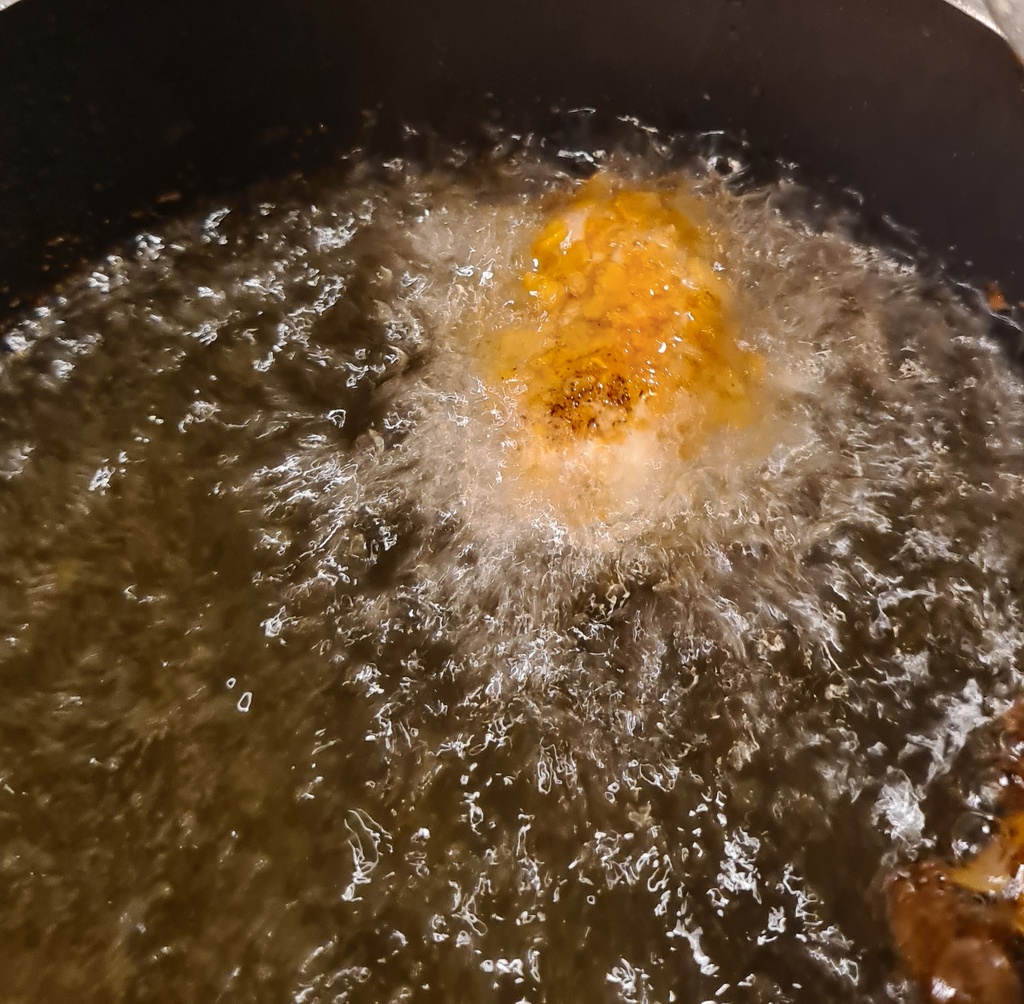
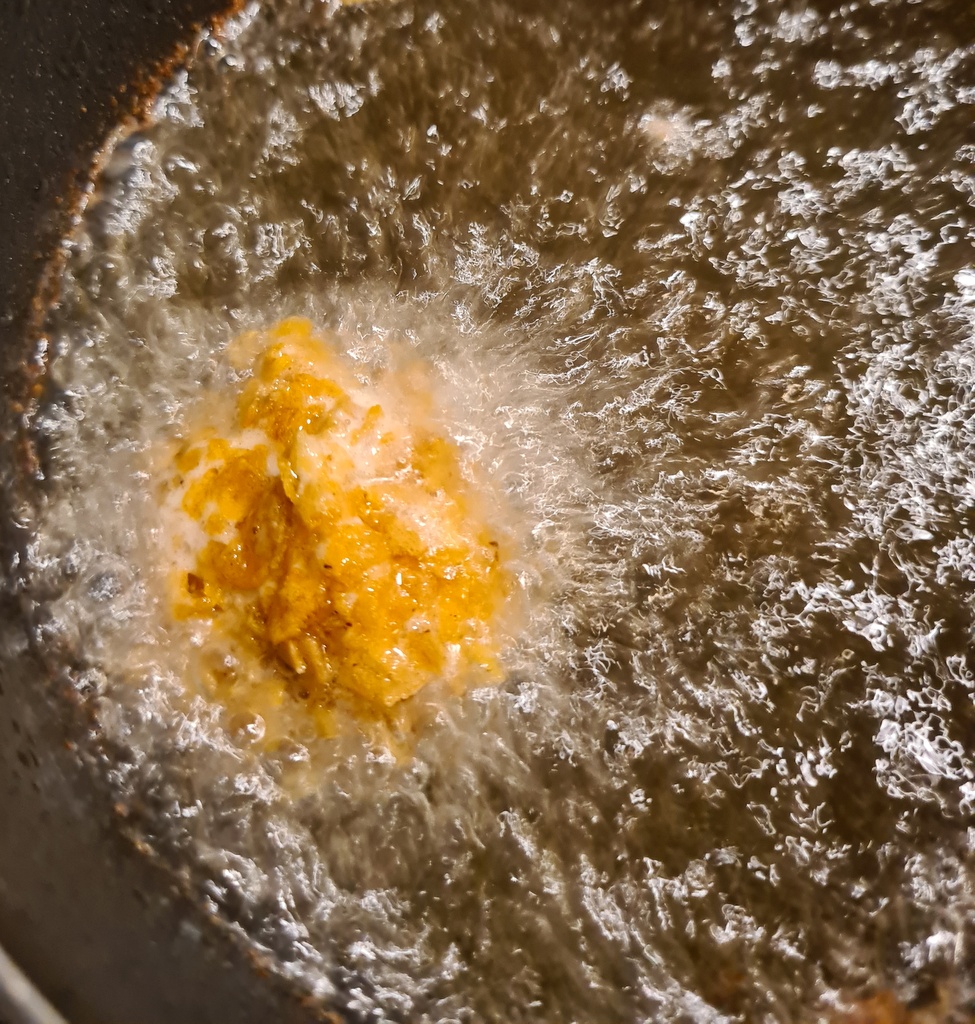
Very nice fizzle!
We’re done! Let the fried ice cream balls drip off on some paper, then serve immediately!
While very tasty on their own, you could also serve them with things like whipped cream, chocolate sauce, fresh fruit, some drizzled honey …
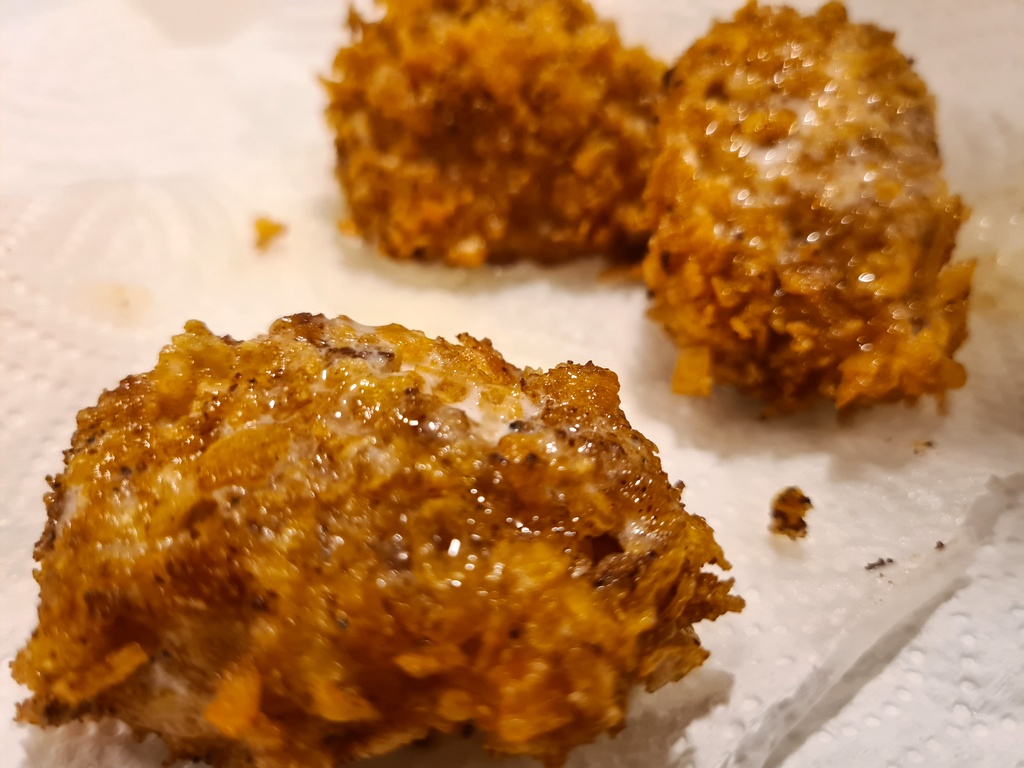
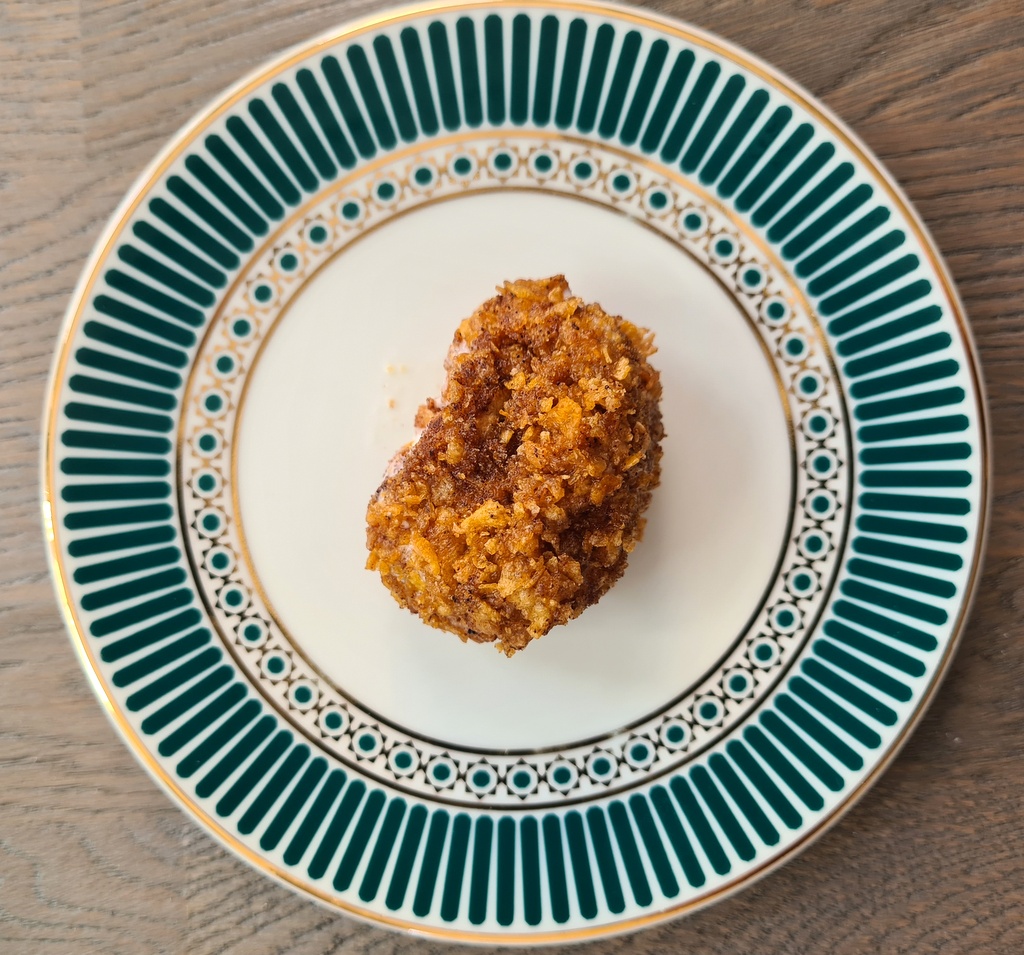
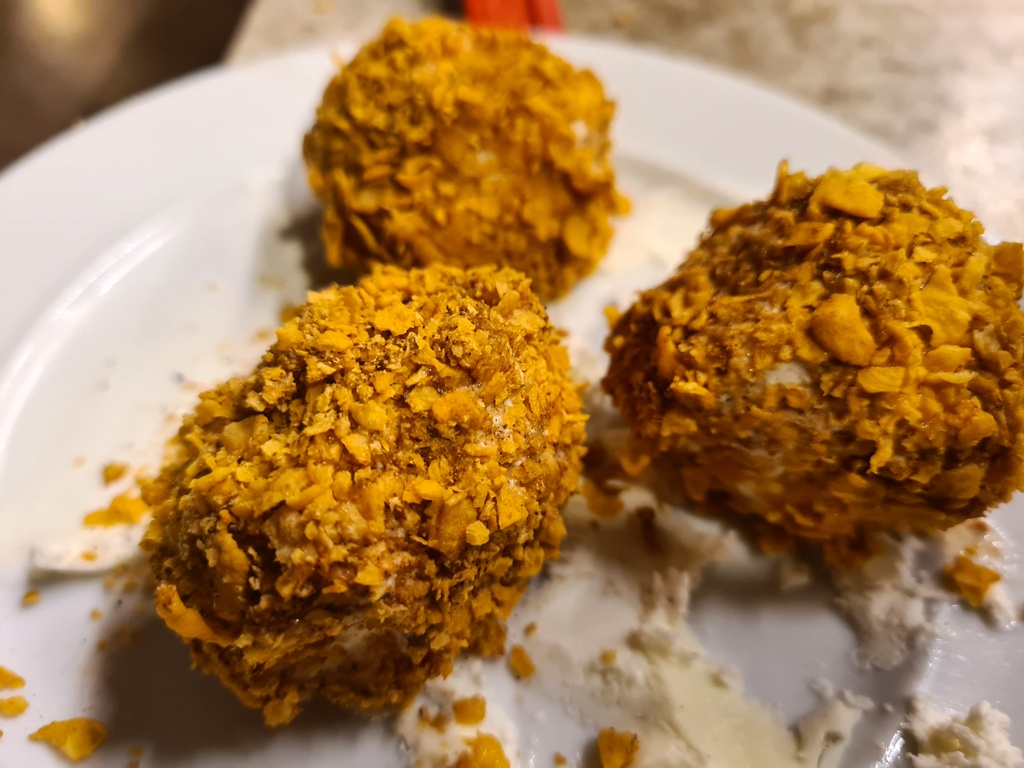
Just out of the frying pan
Fried and very, very tasty
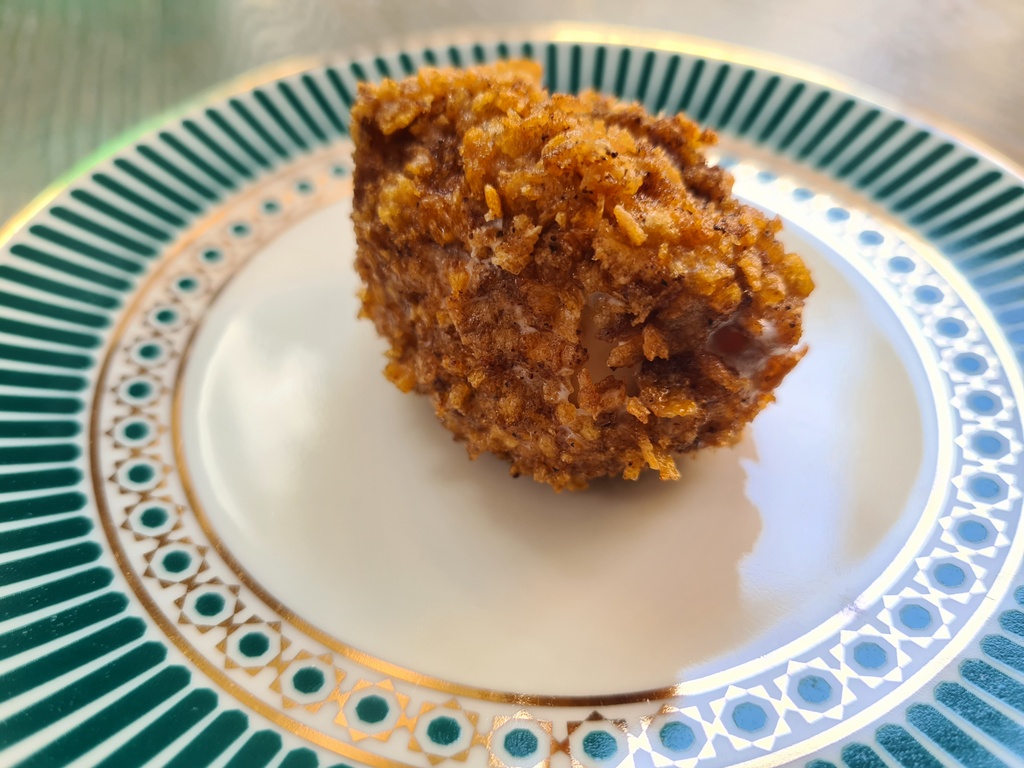
Fried and very tasty!
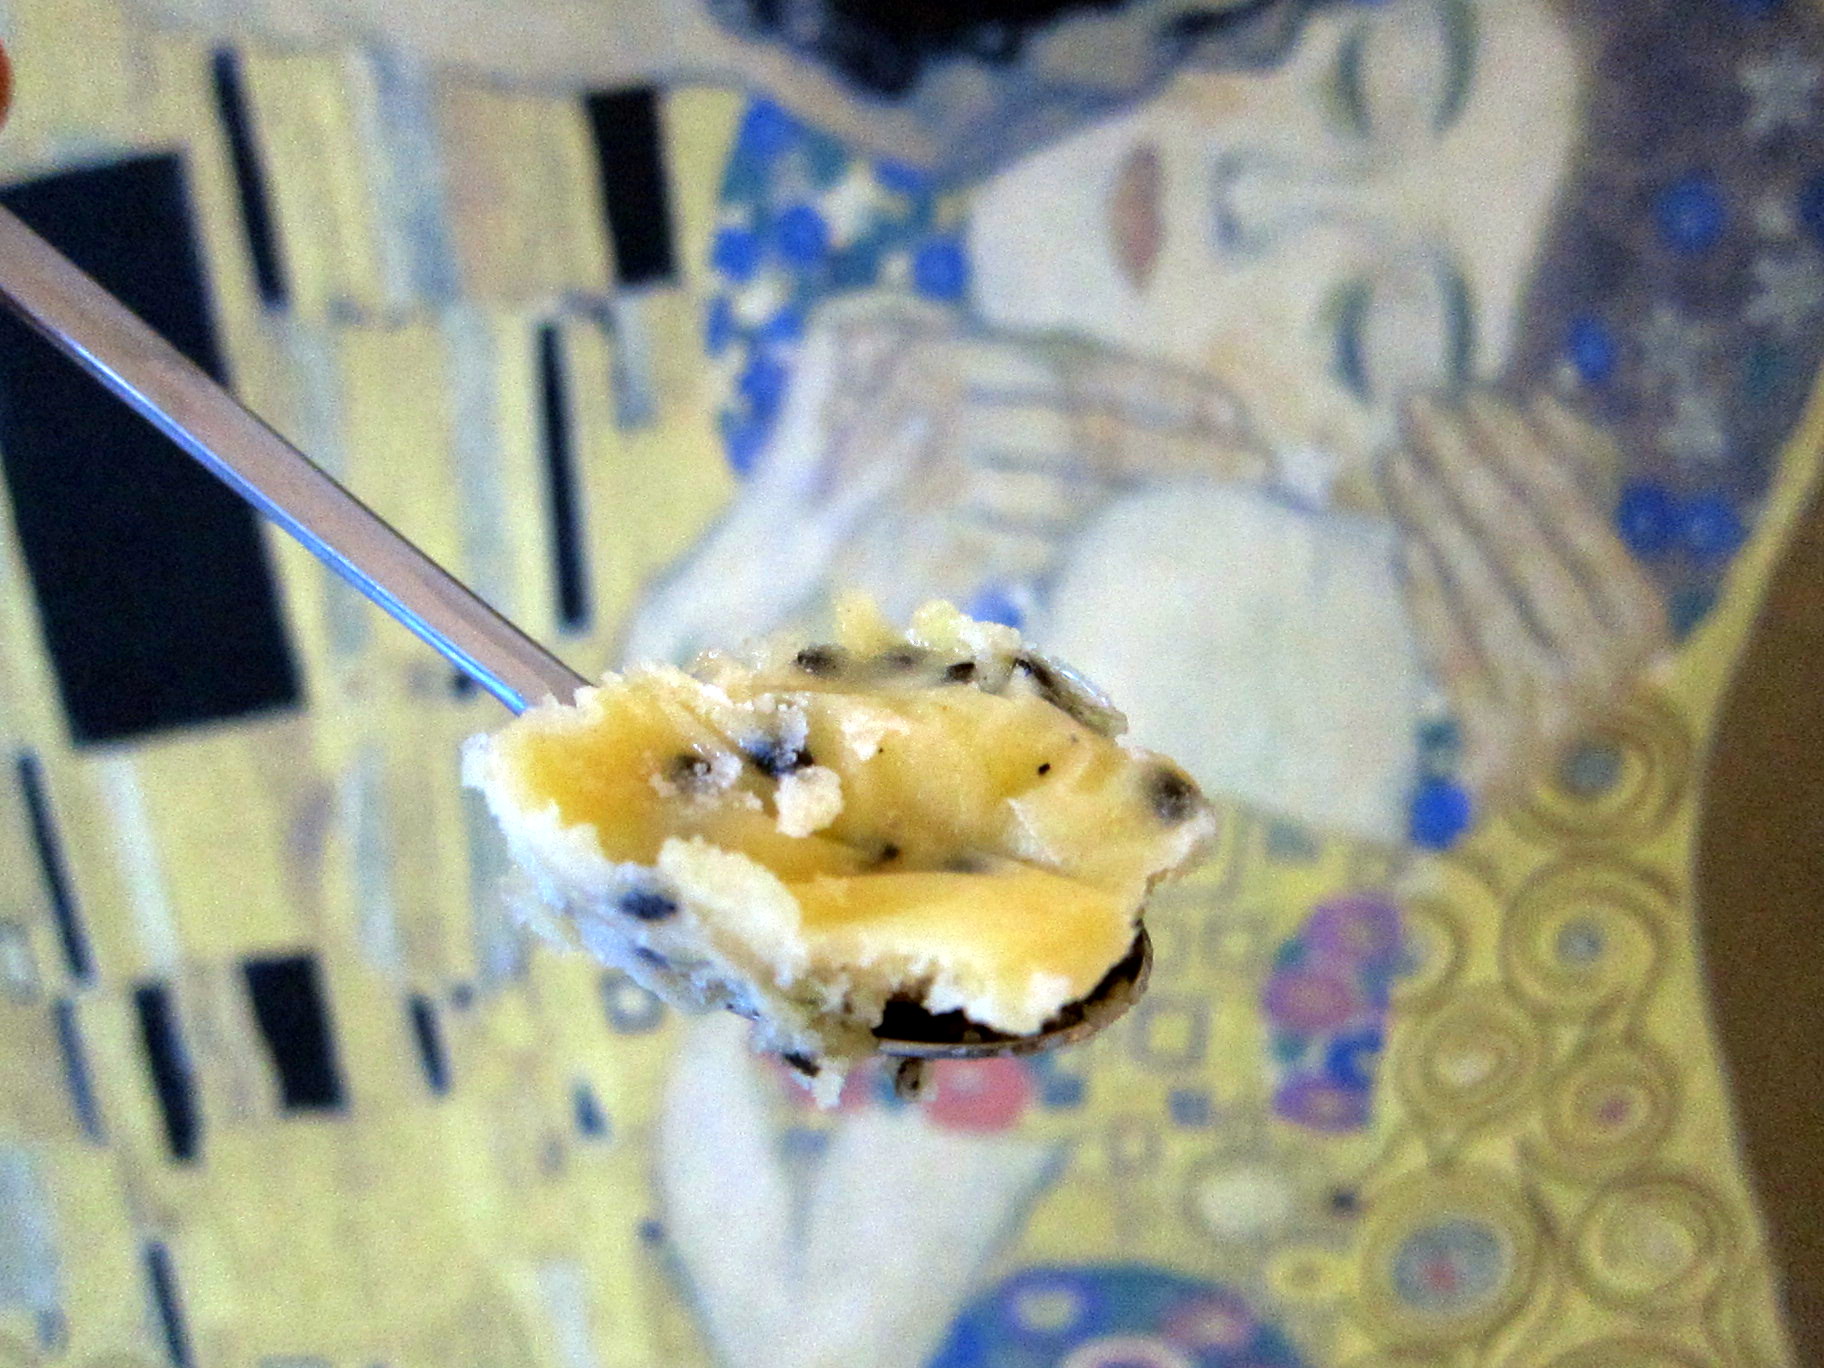
The combination of the fried cinnamon-infused corn flakes shell and the softened ice cream inside was delicious. I was very pleasantly surprised! Part of the joy also lies in experiencing the intriguing combination of fried and frozen.
While deep fry-batter can be a bit overwhelming at times, the corn flakes-mix used here felt perfect and even “light”. While the making of fried ice cram does require some accounting for extra freezing-time preparation, the rest is extremely easy. And this is clearly a dessert to dazzle your friends and loved ones with!
So, bring out your oil and corn flakes and get some ice cream! A fizzling and delicous experience is waiting!
- Ice cream of your choice (vanilla is a good choice), scooped in balls
- Neutral oil for (deep-) frying (I used sunflower oil)
- Corn flakes (crushed)
- Ground cinnamon
- 1 egg white (whisked)
- Optional side servings: fresh fruit, chocolate sauce, drizzled honey, whipped cream ...
- Crush the corn flakes and add desired amount of ground cinnamon. Mix weill (this can preferably be done in a plastic bag). Whisk the egg white and put in small bowl or on a deep plate.
- Scoop up desired amount of ice cream balls, possibly forming them to desired size/shape.
- When the ice cream balls are cold enough (if not, let them first firm up in the freezer for some time), roll them in the corn flakes-cinnamon mix, then roll them in the egg white and re-roll them in the corn flakes mix: they should now be properly coated.
- Put the "coated" ice cream balls in the freezer for about 2-3 hours or over night.
- When the ice cream balls have been properly "hardened" in the freezer, prepare the frying.
- Heat the frying oil to about 160° C / 320° F.
- Fry the ice cream balls one by one until pleasantly golden. Aim for max 10 seconds of frying time, which should be enough and still allow the balls to hold together.
- Let the fried ice cream balls drip off on a paper, then serve immediately!