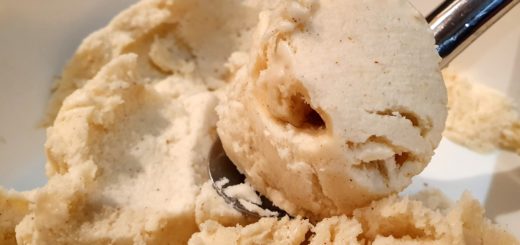
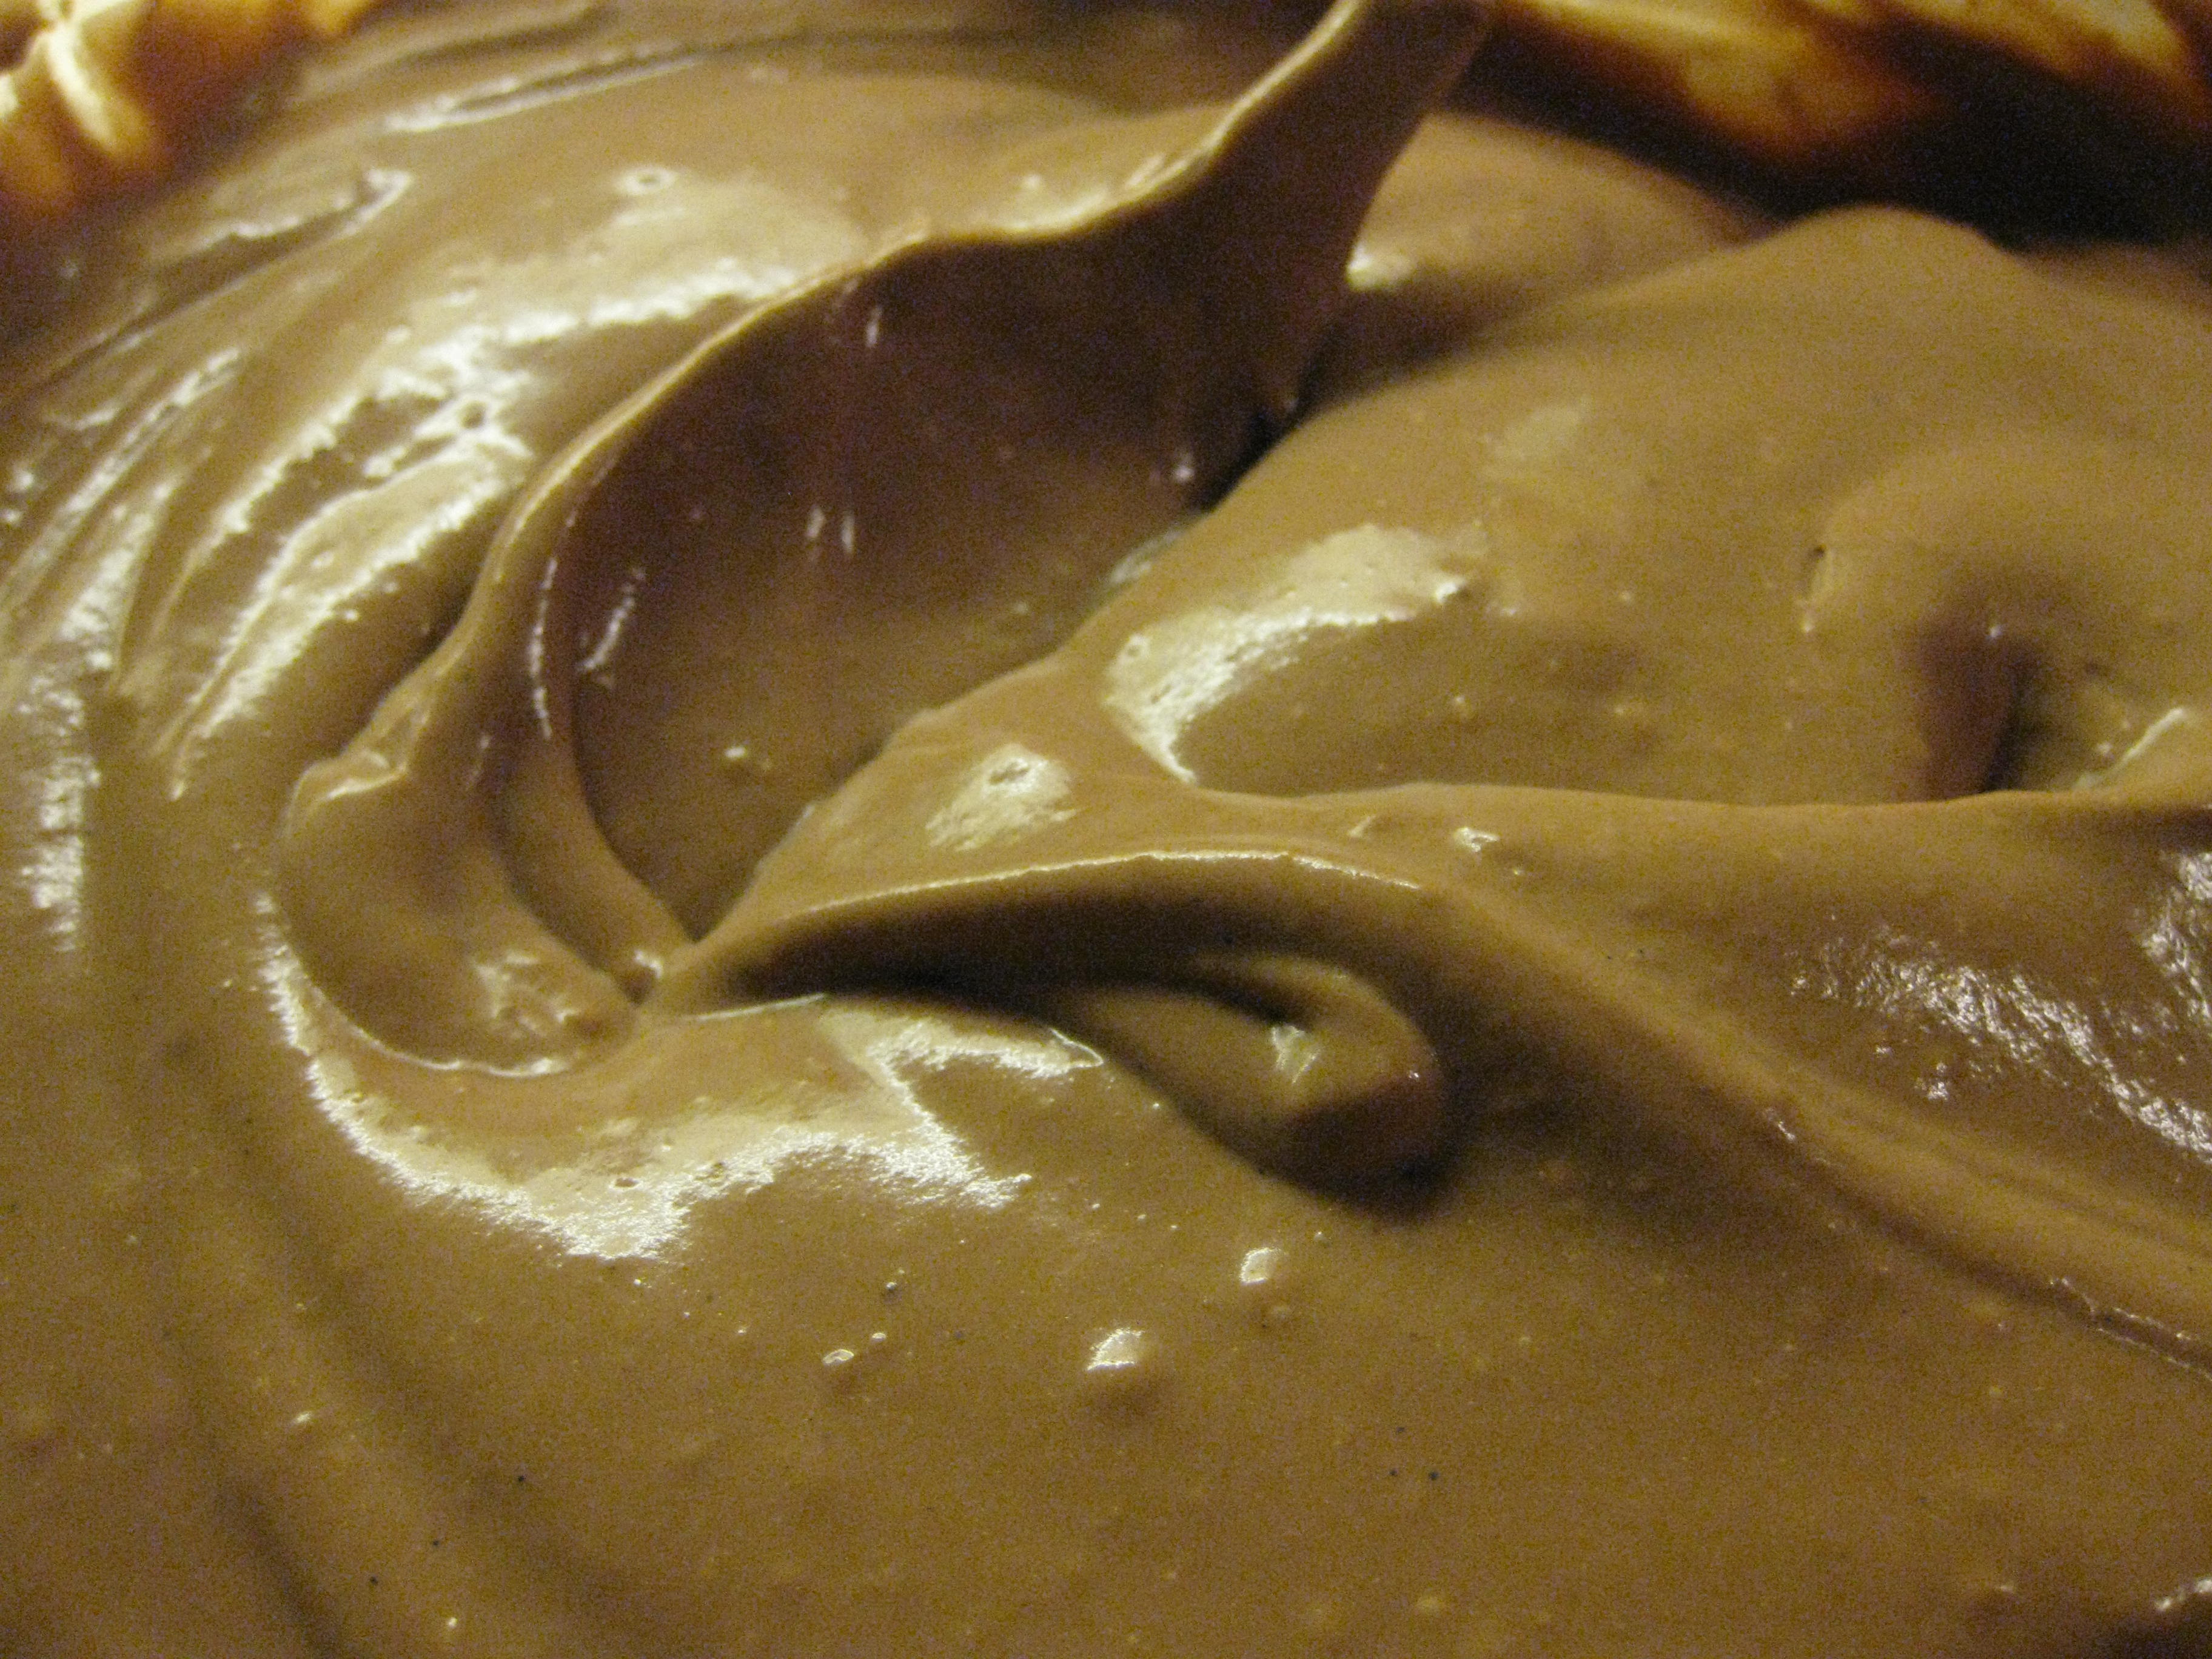
Honeycomb ice cream (Hokey Pokey)
Save the bees! – all you’ll need to create these deliciously sweet honeycombs is sugar, syrup and a little baking soda (!)
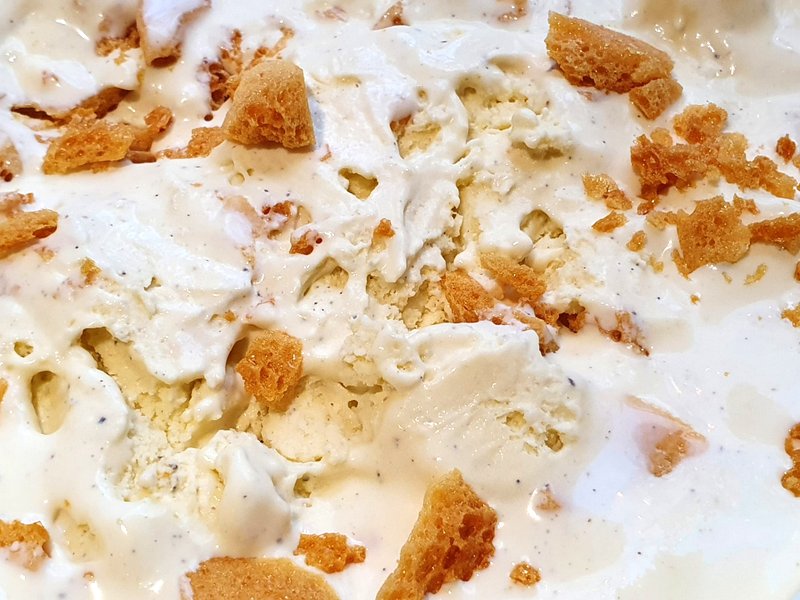
Honeycomb ice cream is basically vanilla ice cream in which small, solid lumps of so-called honeycomb toffee have been mixed. This ice cream is also known as Hokey Pokey ice cream (notably in New Zealand, where it is widely popular and according to some, even was invented).
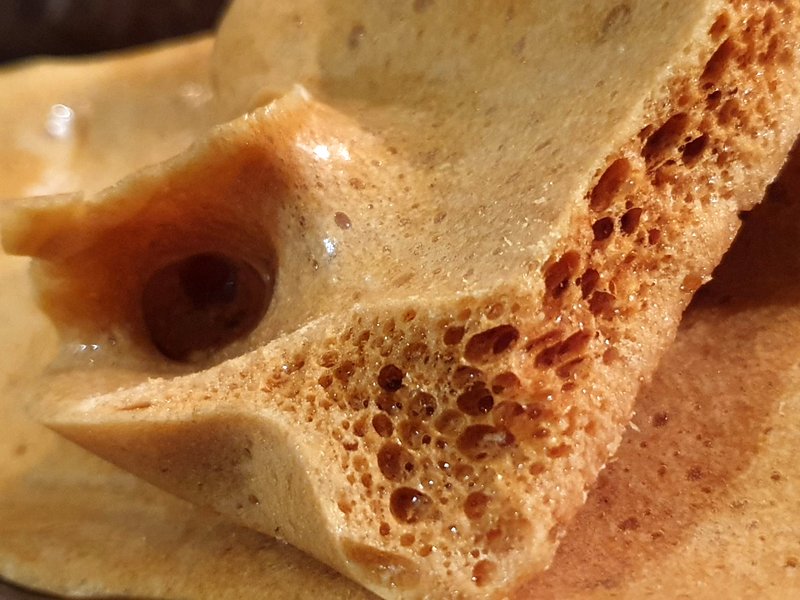
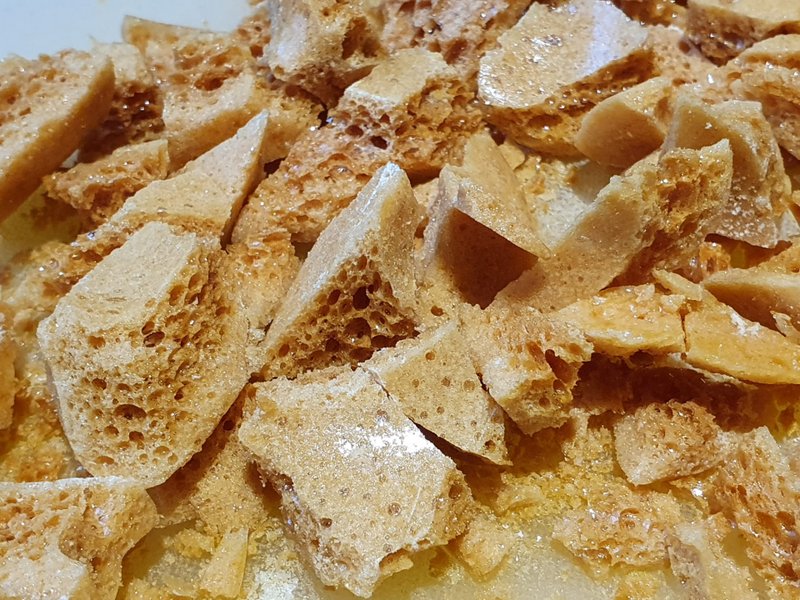
So what exactly is honeycomb toffee? This excellent ice cream mix-in is known by many names: sponge toffee, cinder toffee, hokey pokey, and puff candy to name a few. Easy to prepare, this particular toffee sports a certain visual likeness to beehive honeycombs due to its rigid and sponge-like texture. Main ingredients are typically sugar and/or corn syrup, golden syrup, light syrup or molasses, which is heated to high temperatures, at which time some baking soda is added to the mix. Due to the heat, the baking soda decomposes and releases carbon dioxide, which makes the toffee foam up and expand. The gas bubbles are also responsible for the characteristic sponge-like, porous “honeycomb” structure.
There are quite a few recipes around: some add acidic lemon, butter, honey, or insist on brown sugar etcetera. The one I give here is a rather basic and simple one, but it does the job well! However, if you have a personal favourite recipe for the honeycomb toffee or want to try another, feel free to do so!
A quick word on the vanilla ice cream
For the vanilla base, you can really use whichever vanilla recipe you fancy! So start out by making your favourite. Want some suggestions? This site alone has a handful of different vanilla recipes!
[PS. If you’re lazy or too busy to make your own, you could even go out and buy some ready-made vanilla ice cream]
This time, I personally went with Thomas Jefferson’s French style-vanilla (go to that post for detailed instructions!) but again, you can choose whichever you like!
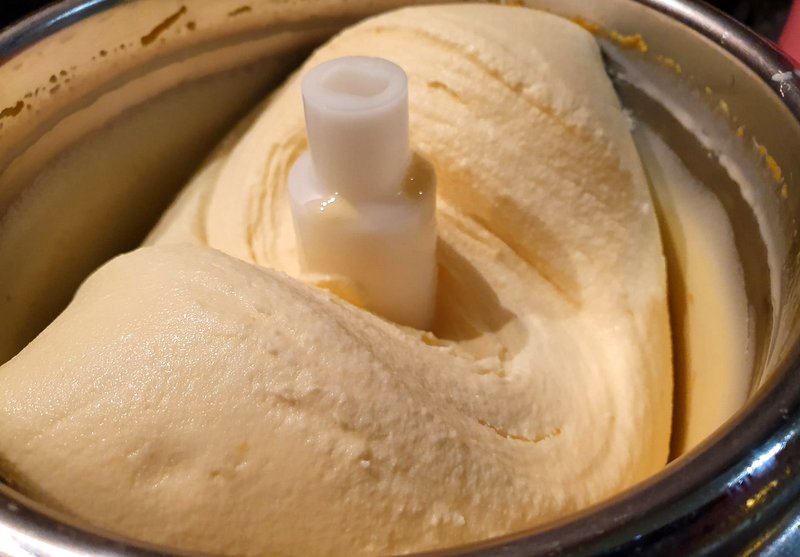
Thomas Jefferson’s French-style vanilla: a perfect base for our honeycomb ice cream! But any good quality vanilla will do!
Making the Honeycomb toffee
The central part of the ice cream is arguably the honeycomb toffee – our delicious mix-in.
For my recipe, all you need is some white sugar, some light or golden syrup, a little baking powder and a little water. Don’t forget to prepare some suitable, heat-safe tray or similar for the hot toffee mass to set in after you take it from the stove!
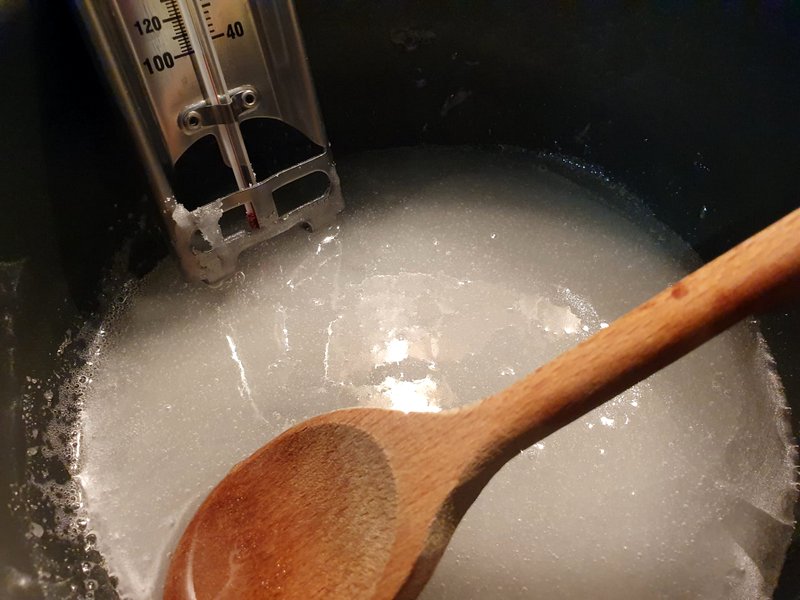
Start by mixing the sugar, the syrup and the water in a saucepan.
Stirring occasionally, bring this caramel syrup mix to, or very close to, the “hard crack stage” (= about 149-156° C / 300-310° F). At the hard crack stage there is almost no water left in the syrup at all (if you stick to lower temperatures, there is a risk that you will end up with a chewy toffee, not a brittle one).
Experienced boilers of candy may have no problems to reach the desired caramelisation temperatures. Myself, following a lot of bad experience with over-burnt sugar, rely on my trusty sugar thermometer! Another way to check the sugar mass is to drizzle a small amount of the syrup into a cold glass of water: If the hard-crack stage has been reached, the syrup will form hard, brittle threads (and may possibly even make a cracking sound).
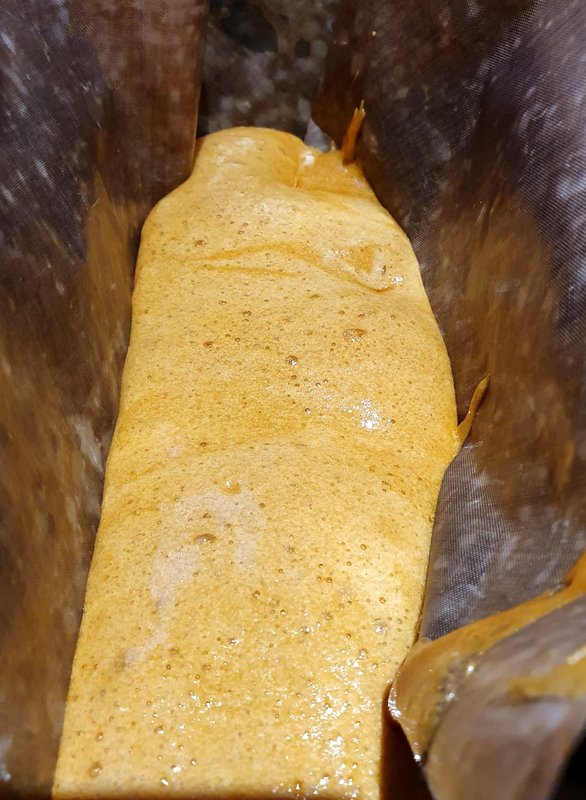
When your syrup has reached the desired stage of caramelisation, add the baking soda! Take off from the heat, mix well and quickly and pour the toffee mass into your heat-safe tray. Let the honeycomb toffee settle.
To prepare the mix-in pieces, the easiest way is to smash your cooled-down honeycomb into shards.
Putting the ice cream together
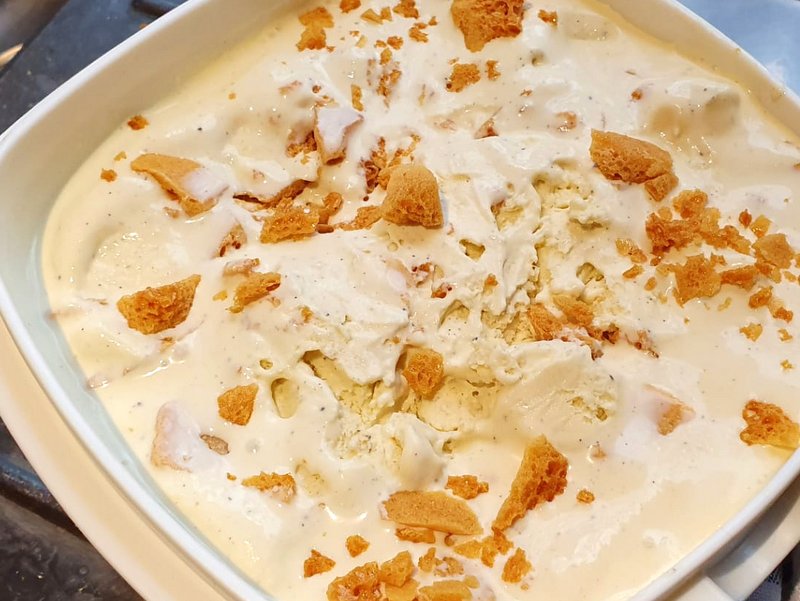
Nothing could be easier – just mix the honeycomb toffee shards into your vanilla ice cream!
If you have prepared the honeycomb beforehand and now are preparing the ice cream, add the shards towards the end of the churning when the ice cream almost is ready. You can also finish the churning and mix in the honeycomb right after. Ideally, let the honeycomb ice cream settle an hour or two in the freezer before serving!
Honeycomb delight
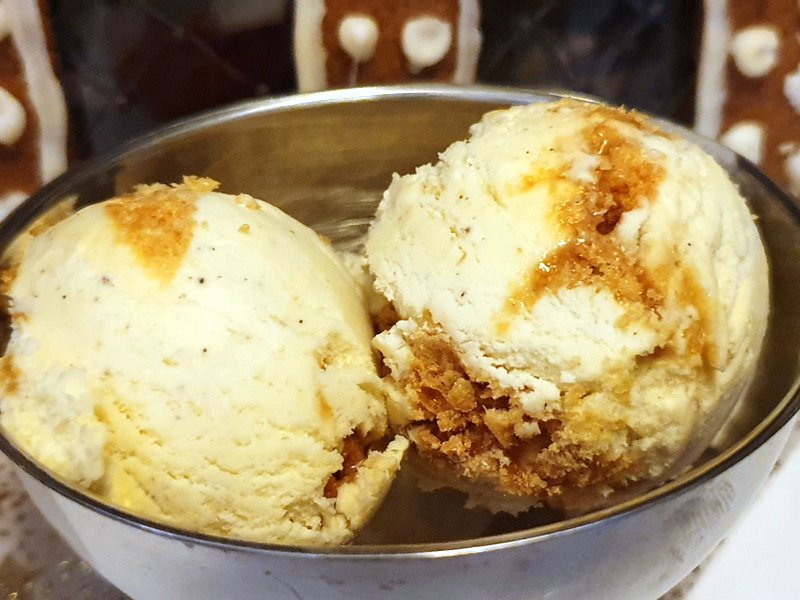
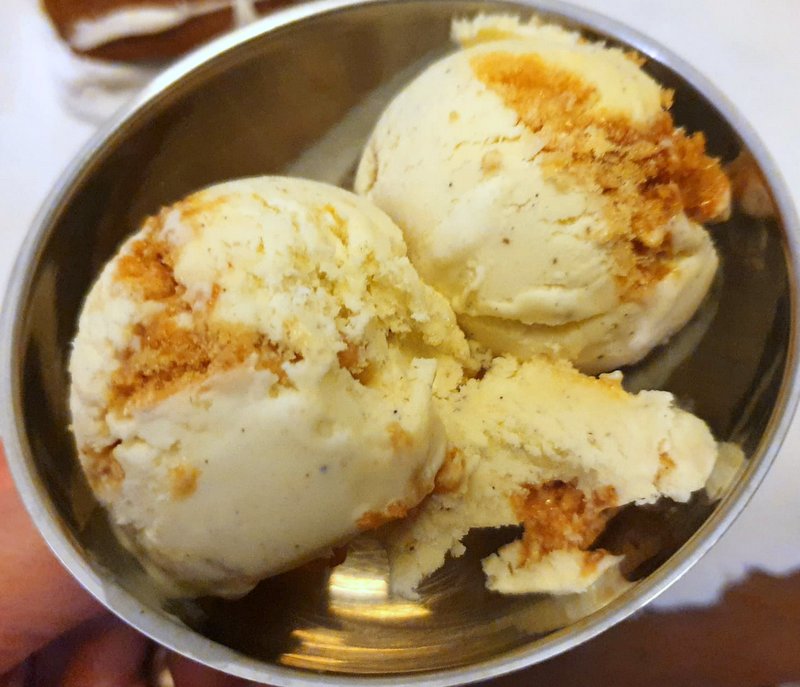
The Honeycomb ice cream is a real crowd-pleaser! When I served it, both kids and adults were delighted, made short work of the initial batch and then immediately started to ask me to make more!
And this is a truly splendid ice cream, very easy to love! The nuggets of delicious honeycomb embedded in the vanilla is a delectable combination. Since the honeycomb is made of sugar and contain little or no water, it is also one of those mix-ins that rather contribute to the overall consistency of the ice cream than detract from it. In other words, if you have made your vanilla well, the overall consistency of the Honeycomb ice cream should remain good even if kept in the freezer for some time.
That said, prolonged storage in the freezer might be a non-problem … after all, who in their right minds would let this irresistible ice cream sit in peace for long?
- 1 batch of good-quality vanilla ice cream [make your favourite recipe, or choose any of the vanilla recipes on the IceCreamNation-site. As a last resort, you could even buy yourself some ready-made vanilla ice cream;-) ]
- 125 gram (about 90 ml / 2/5 cup) golden or light syrup
- 250 gram (about 300 ml/ 1¼ cup) sugar
- 2 tablespoons water
- 2 teaspoons baking powder (bicarbonate)
- Mix the syrup, the sugar and the water in a saucepan.
- Put to the heat, stirring occasionally, for about five minutes or until the toffee base has reached the so-called hard-crack stage ( = about 149-156° C / 300-310° F).
- Take the saucepan off the heat, add the baking powder and stir quickly.
- While still bubbling, pour the toffee base in a heat-proof tray and let cool down.
- When the honey comb toffee has cooled down, break the honeycomb toffee into shards and mix them into the vanilla ice cream.
- Ideally, let the honeycomb ice cream settle in the freezer for at least a couple of hours before serving.
