Polka (stick candy) ice cream
Stick candy – most of us have probably cherished memories of sucking at lollipops and their hard likes. So why not mix some of this candy into a delicious ice cream? And we’ll be using the very best Swedish stick candy available – Polkagrisar! [but any good stick candy will do, in a pinch 😉 ]
Stick candy – candy with a past
Stick candy has a long, long history and generations of kids mesmerised by lollipops and candy canes can attest to its enduring popularity!
Basically composed of a mix of sugar, water, some vinegar or cream of tartrate and flavouring, the history of this particular hard candy goes back to at least the 1600’s. Some claim that the first candy canes were invented in Germany around 1670. (in the US, stick candy history is said to have begun in the 1830’s). But the art of shaping sugar mixed with water and flavouring, and turning it into hard candy also developed elsewhere. For example, every Swede knows that the best polkagrisar [“polka pigs”) come from the idyllic little Swedish town Gränna.
Gränna – the Polkagris tradition remains one of the idyllic town’s prime attractions
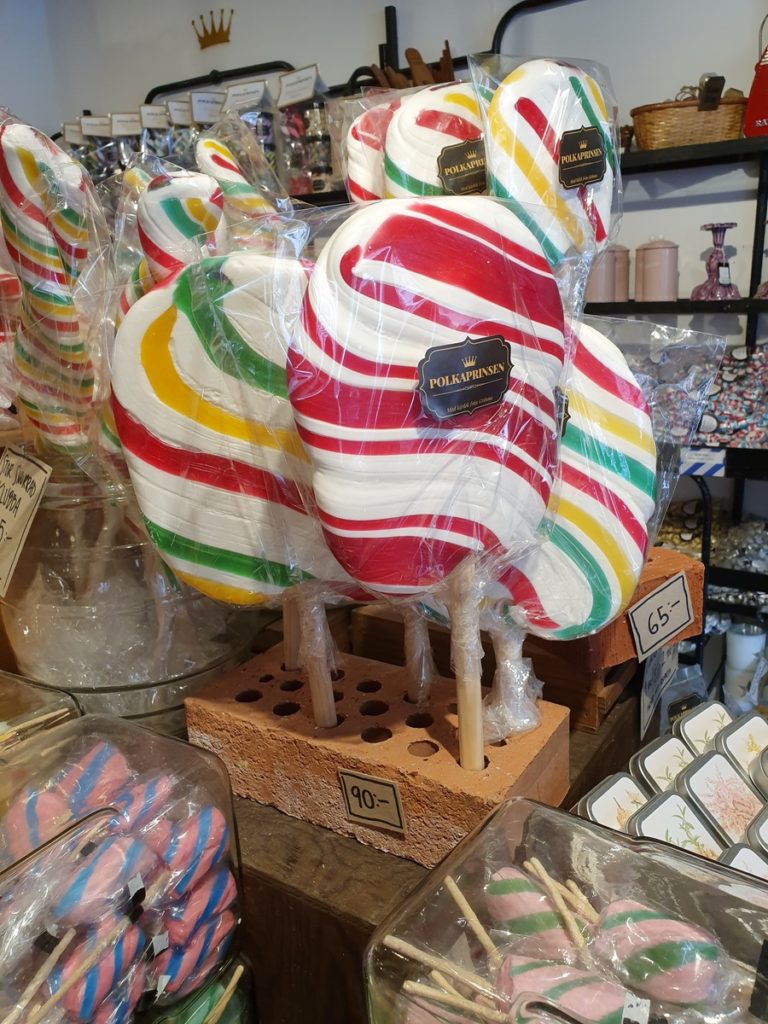
In 1859, the industrious widow Amalia Eriksson began a production of polkagrisar which would put the small town on the world candy map. Today, about 150 years later, the basic elements of the peppermint sticks still remain the same (sugar, water, vinegar, peppermint oil). However, the classic red-and-white peppermint stick no longer rules supreme: these days, you can have your polkagris in a myriad of other more or less exotic flavours and colours.
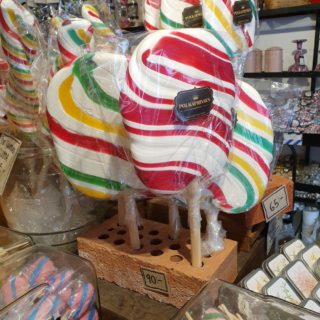
The classic Polkagris is a red-and white-striped stick, flavoured with peppermint oil. Since the 1970’s, however, a number of other colours and flavours (even shapes) have been adding to the product range!
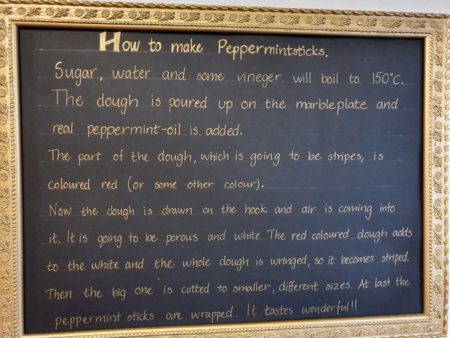
If you would like to make your own stick candy, you could take a look at this blackboard with instructions in English which I found in one of the oldest Gränna candy workshops.
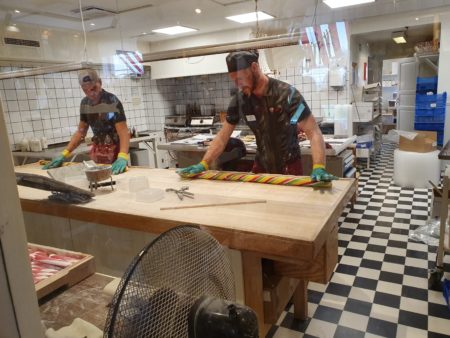
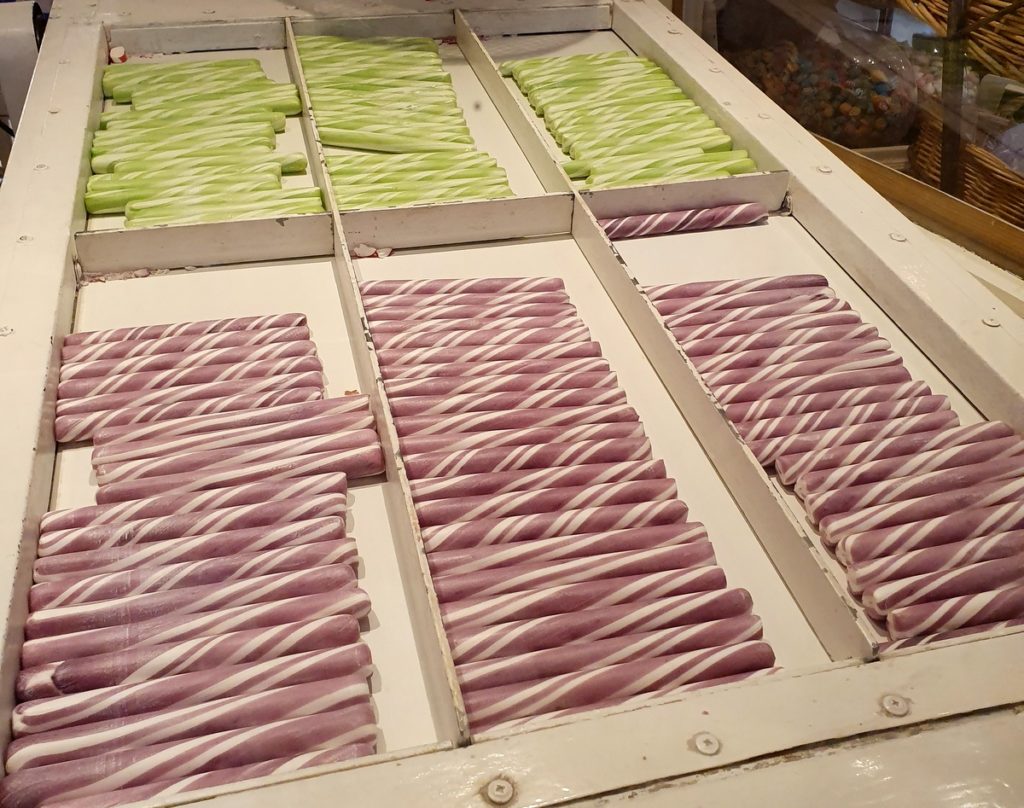
The Gränna polkagris-production remains pretty artisan even today!
Of course, it looks so very easy when the professionals do it. I decided to simply buy myself a bag of smaller pieces, already then thinking about making polka ice cream!
An ice cream base well suited for candy: Philly-style!
While you could use basically any ice cream base, I have a special soft spot for the American (Philadelphia) style base when it comes to hard candy (or cookies). This makes our preparations exceedingly easy: aside from crushing the stick-candy to suitable size, we only have to mix some sugar with milk and cream straight from the kitchen refrigerator. Then churn this mix in your ice cream machine until finished. Afterwards, calmly stir in the roughly crushed hard candy!
Oh, and true to my habits, I added some natural yoghurt to the cream and the milk: this in order to add a sense of dairy “freshness” and counterbalance Philly-style ice cream’s tendency to sometimes come across as “too creamy” on the palate.
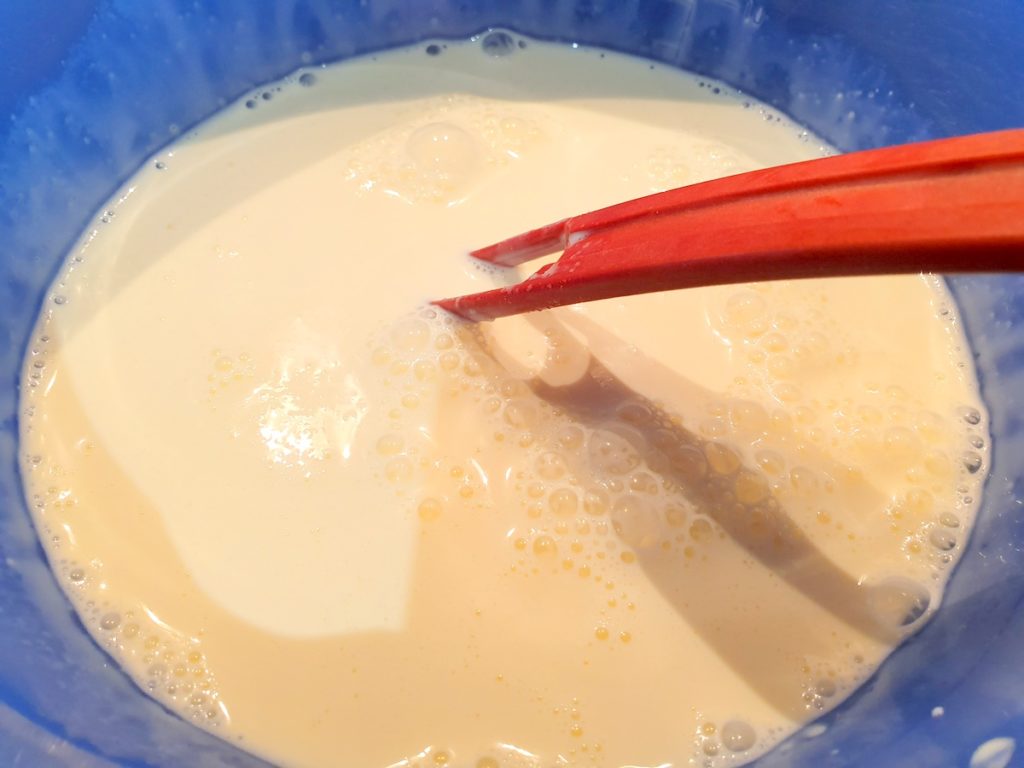
Philadelphia (or American) style bases are very easy to make – just mix your dairy straight from the fridge with some sugar and you are done!
Time to break down the candy!
For the stick candy, I (of course) went with the Swedish Polkagris-stuff. You can certainly use other types of hard candy, but I suggest that you choose something with nice and distinct flavours! As noted, the Polkagris signature flavour is peppermint, which works perfectly in this ice cream!
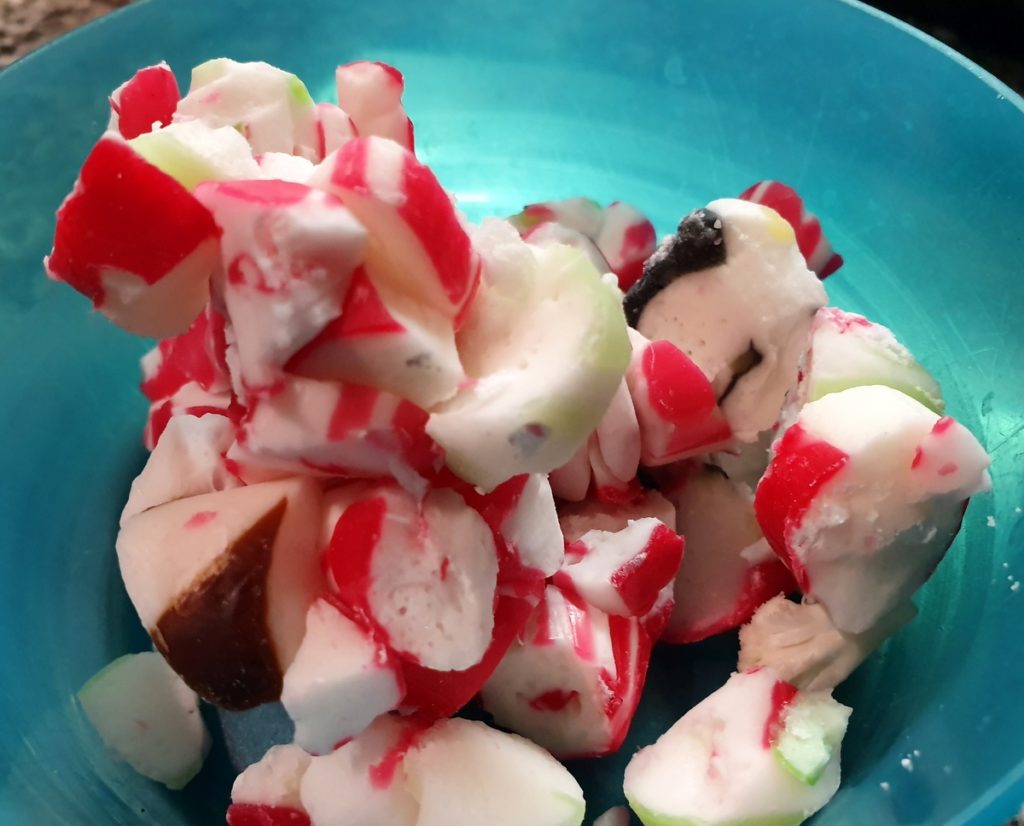
A handful of polkagris candy pieces – most of them of the traditional peppermint type, but there were also a few pieces of other flavours too in this bunch.

Crushing hard candy may require hard methods – putting the candy in a small bag and bang them with a hammer is quite effective!
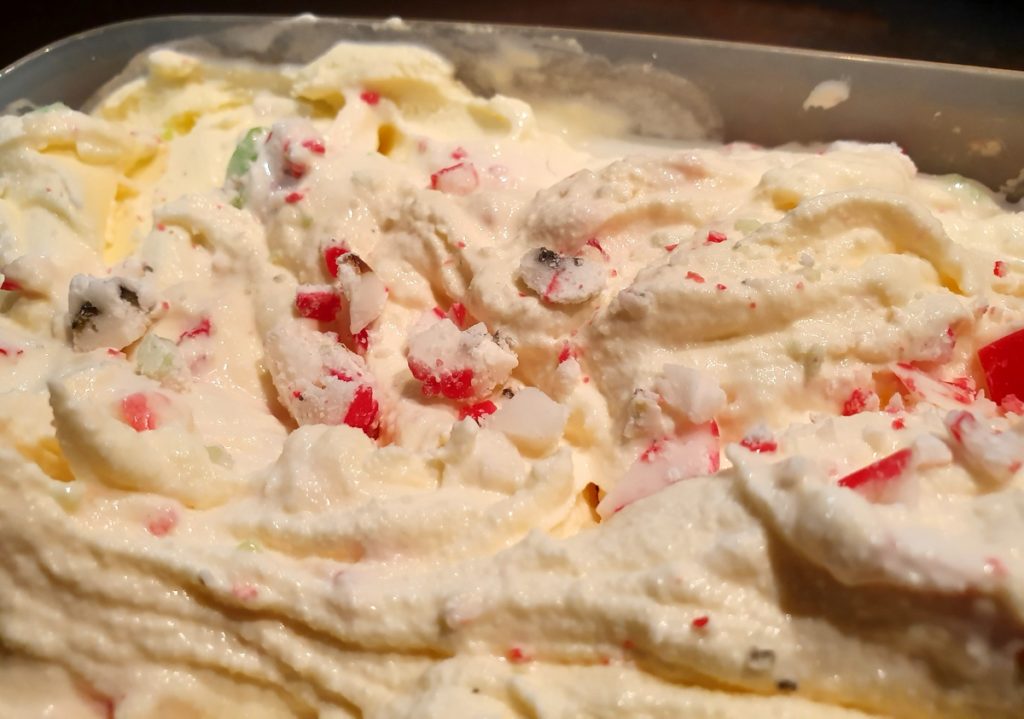
Time to stir in the candy …
Nothing stops you from adding the candy pieces already during the later stages of the churning. However, you might as well churn the ice cream to finish and then simply stir in the candy before putting it in the freezer (or enjoying it right away).
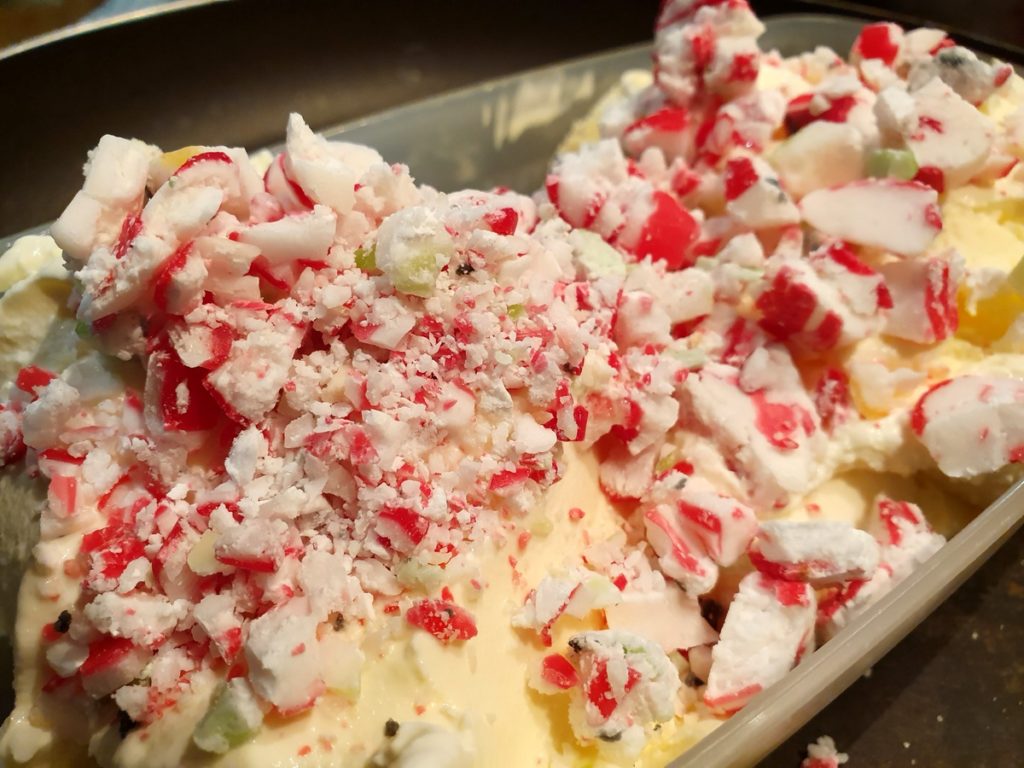
The Polka ice cream has churned – now, we will stir in the smaller pieces of polkagris to finalise it!
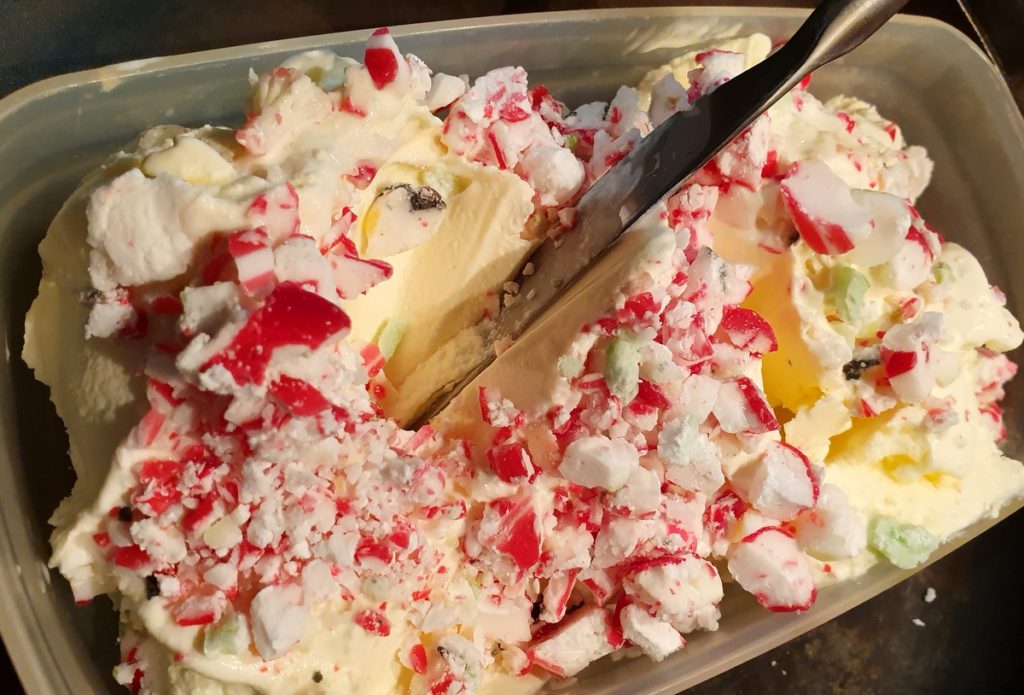
Adding the candy? Just zig-zag a kitchen knife or a spoon through the just-churned ice cream and swirl!
The pieces have been added to the ice cream – time to either start eating, or to put the ice cream away for further firming up in the freezer for a while!
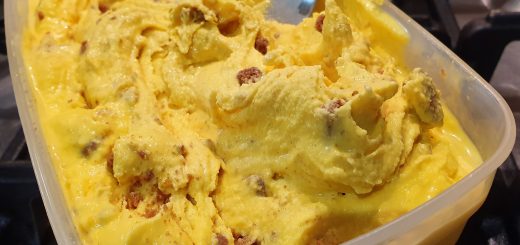
Polka candy goodness
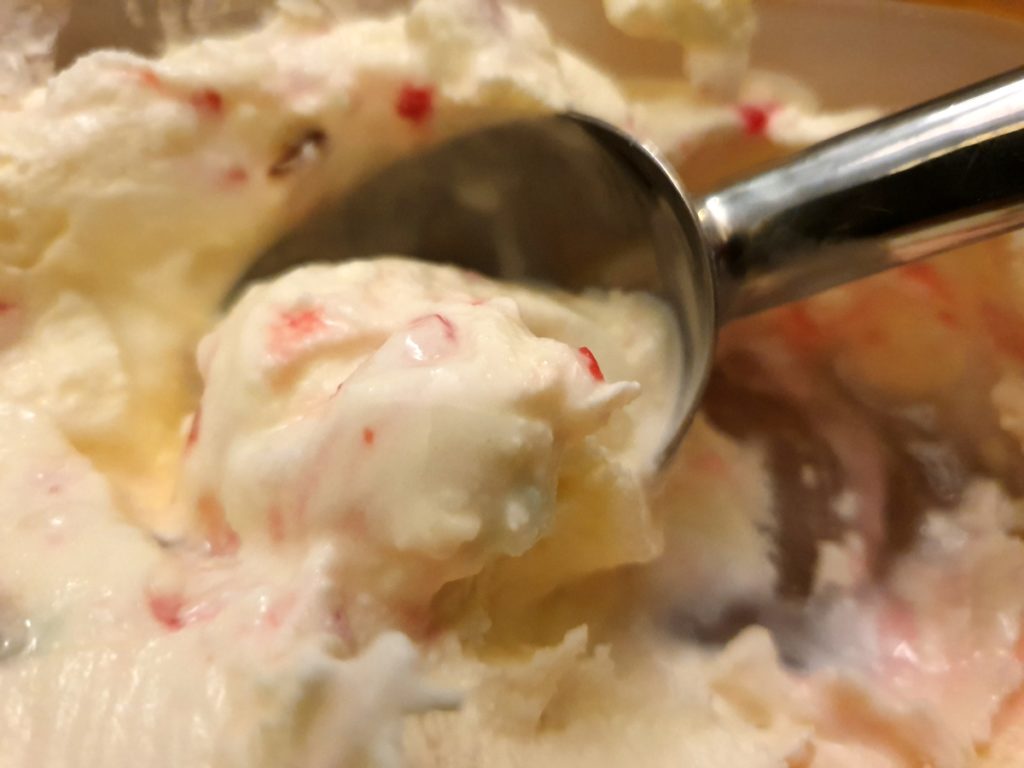
A scoop of freshly churned Polka ice cream
The Polka ice cream is a real treat for anyone remotely interested in candy. For those of us with a more active interest, it is even better!
Since I used the Swedish polkagris candy, the principal flavour was peppermint – deliciously administrated through the delectable pieces of crushed candy frozen into the ice cream. The consistency of the ice cream is very good – partly a consequence of the sugar and cream in the base, and partly because of the sweet candy itself.
So, next time you come across some good hard candy, consider making an ice cream out of it: Candy-lovers of all ages will surely be delighted!
Polka (stick candy) ice cream
Ingredients
- 400 ml (1.7 cups) cream
- 200 ml (about 4/5 cup) milk
- 100 ml (about 2/5 cup) neutral yoghurt (about 2 % fat)
- About 100-125 ml (about 2/5-1/2 cup) sugar
- Optional: 1 tablespoon inverted sugar like corn syrup
- About 100 gram's worth of Polkagris stick candy [or other good hard candy] broken into smaller pieces but not completely crushed)
Instructions
- In a bowl, mix together the sugar(s), the milk, the cream and the yoghurt.
- Crush the candy into smaller pieces, suitable for ice cream consumption: avoid crushing them to a powder (unless you are striving for a smoother ice cream without much noticeable pieces of course)
- Churn the base in your ice cream machine (or still-freeze using only your freezer: see the blog for useful advice on how to best to that).
- When the churning has finished, pour the ice cream in a freezer safe container, pour over the candy pieces and stir around with a knife or fork until the candy has been incorporated into the base.
- Put on plastic film and a lid, and let the ice cream firm up in the freezer an hour or more before serving (for a more "integrated result" - nothing stops you from enjoying it right away ...)

hi:) thanks for the great website and recipes.
wondering what is the golden rule for the use of inverted sugar?
is there a Percent that u keep when using sugar?
thanks i.a
Hi Sarah, and thanks for your kind words!
I would not say that there is a hard and fast “golden rule” for the use of inverted sugar. It depends a bit on both the type of inverted sugar and the recipe, but generally speaking,
inverted sugars tend to bring their own particular flavours and different kinds of perceived sweetness to the mix: not necessarily a good thing, since many consider that ordinary white sugar (sucrose) provides the “nicest” sweetness. In other words – in most cases, one adds inverted sugar because of its “chemical capacities” to improve the texture and overall finish of the ice creams, not for their flavours or inherent sweetness (By the way, there are other sugars than the inverted ones – such as dextrose/glucose and maltodextrin – which can be used in more advanced ice cream making to bring about what ordinary sucrose cannot).
But again – there is scope for personal opinion here. Honey is a good example. While some might dislike a pronounced honey flavour in their ice cream, others might welcome it (and if you’re
aiming for ‘honey ice cream’, this might even be your goal). Personally – and as you can see in most recipes on this site, I seldom replace more than a little of the ordinary white sugar with inverted sugar, and sometimes none at all.
Very interesting! Thanks for the quick response.
Worth a try to learn.